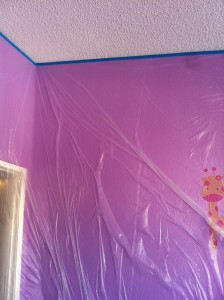
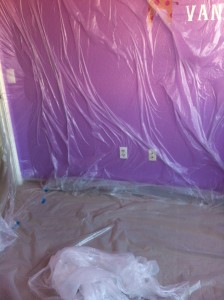
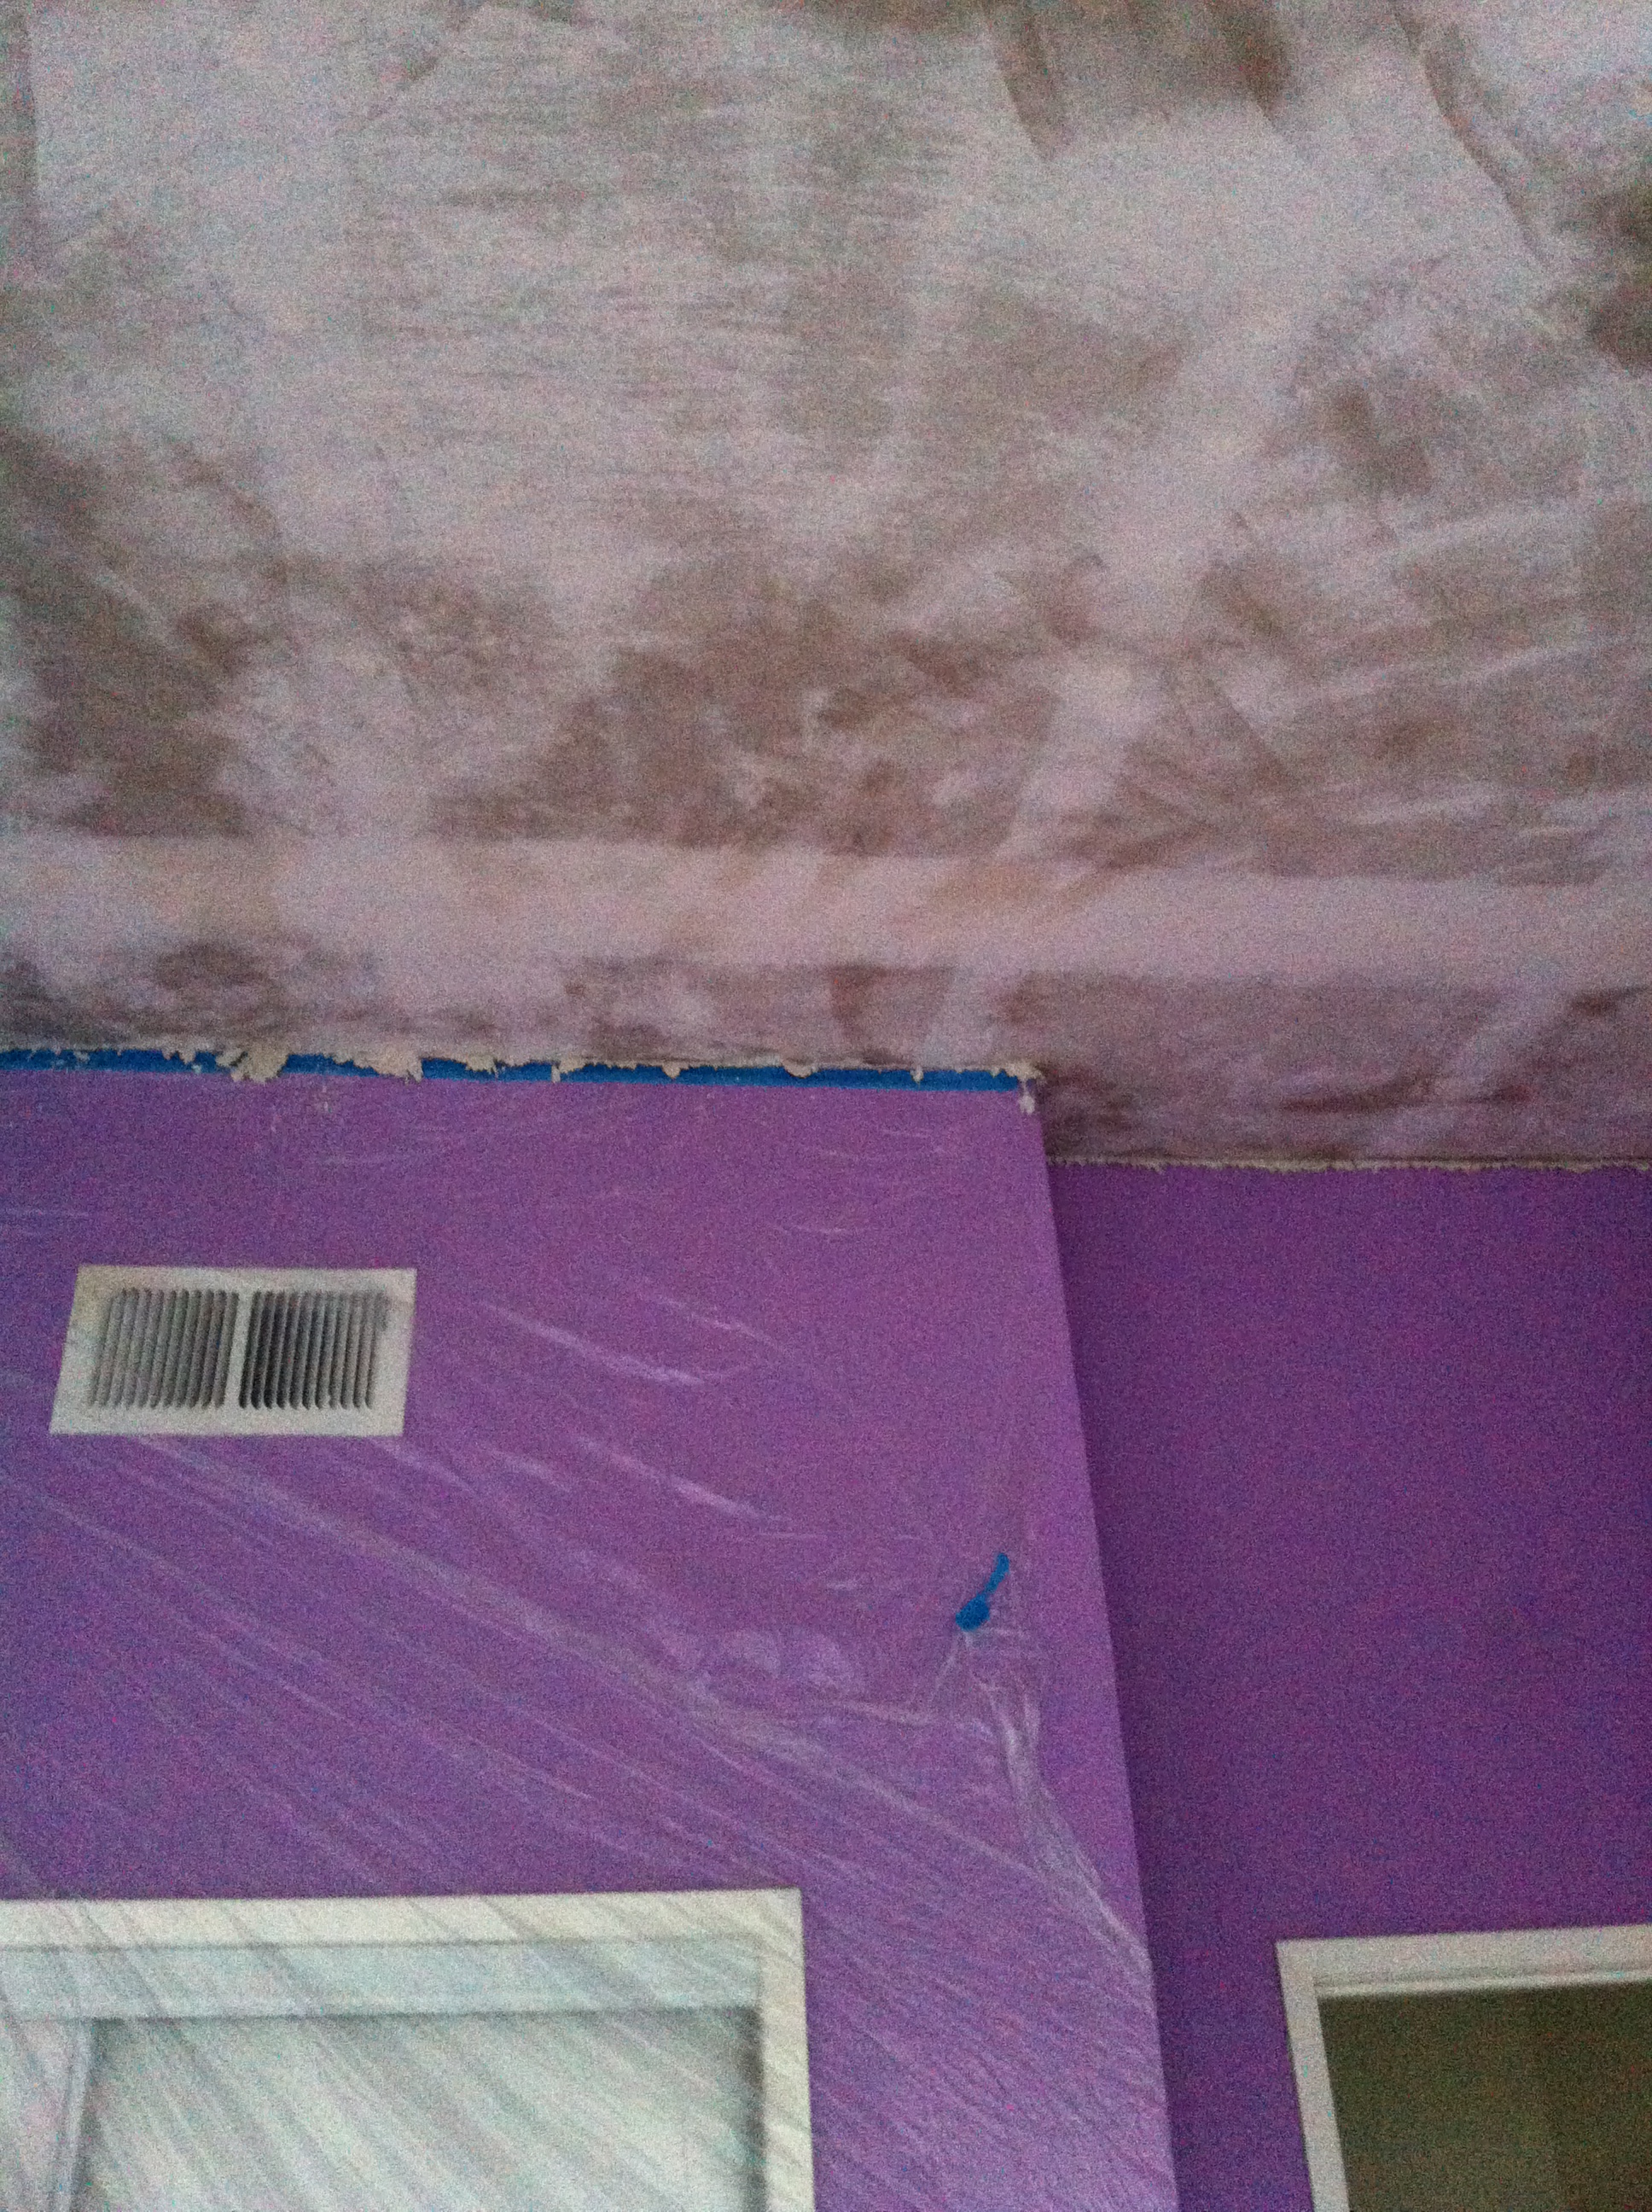
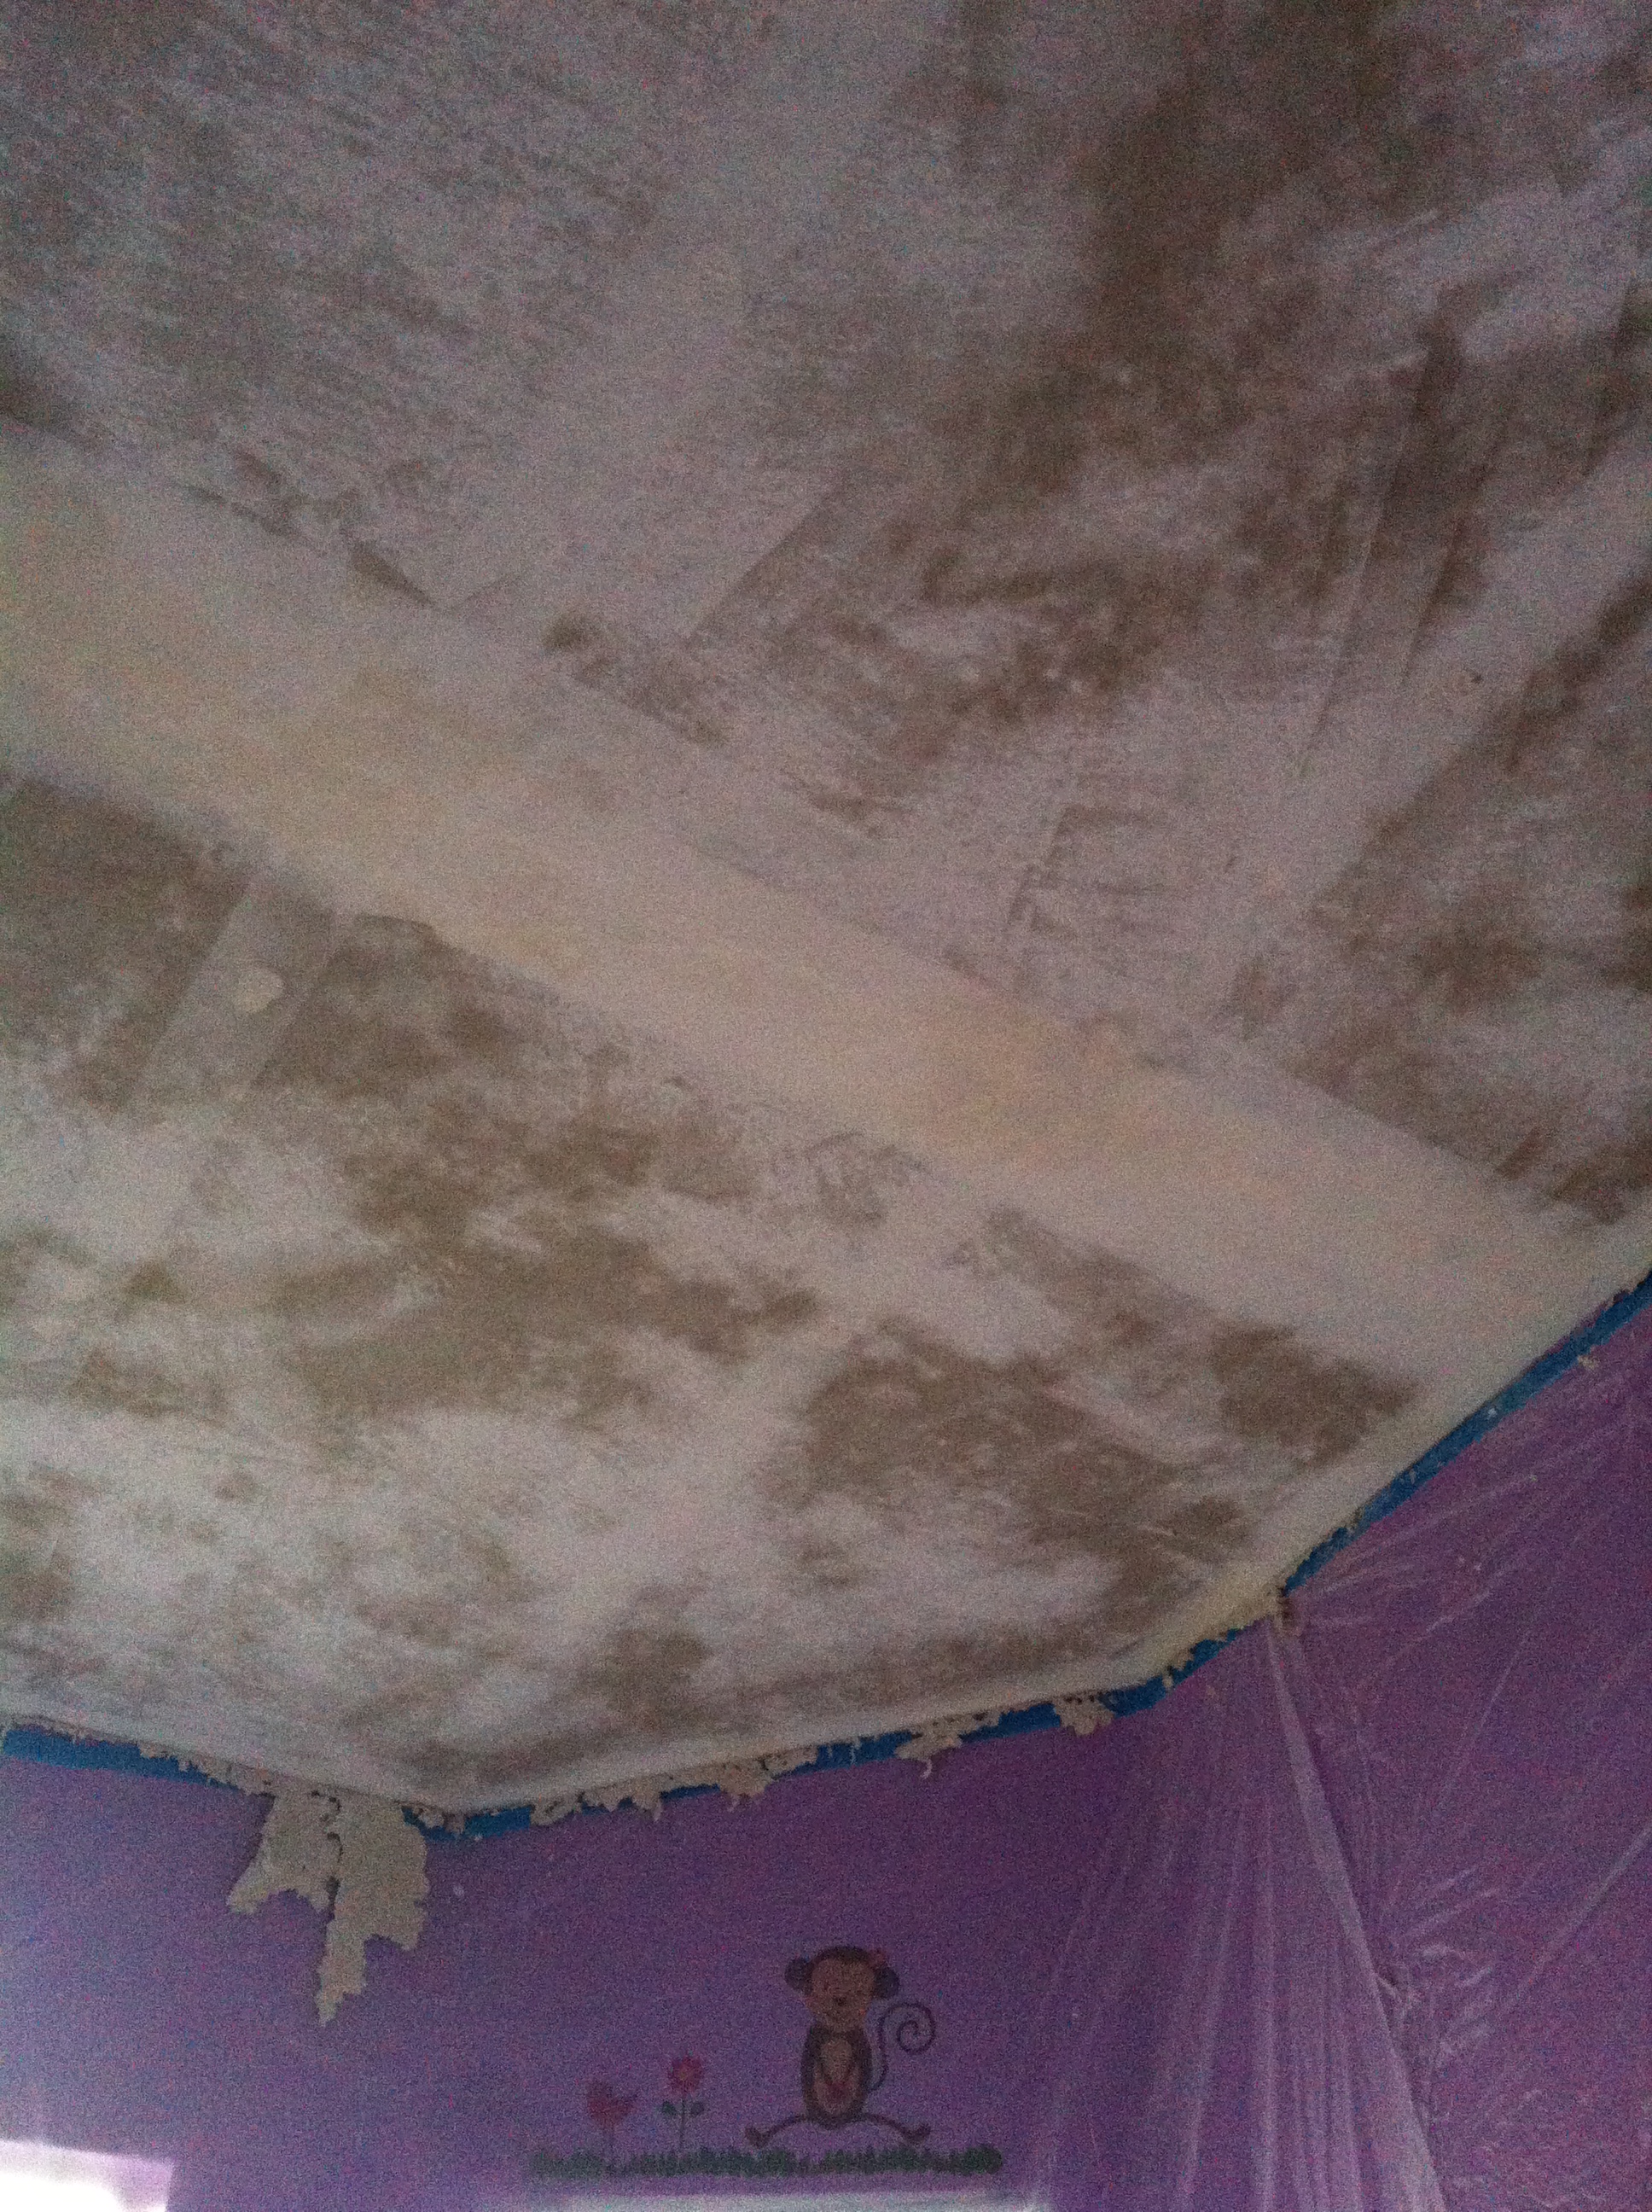
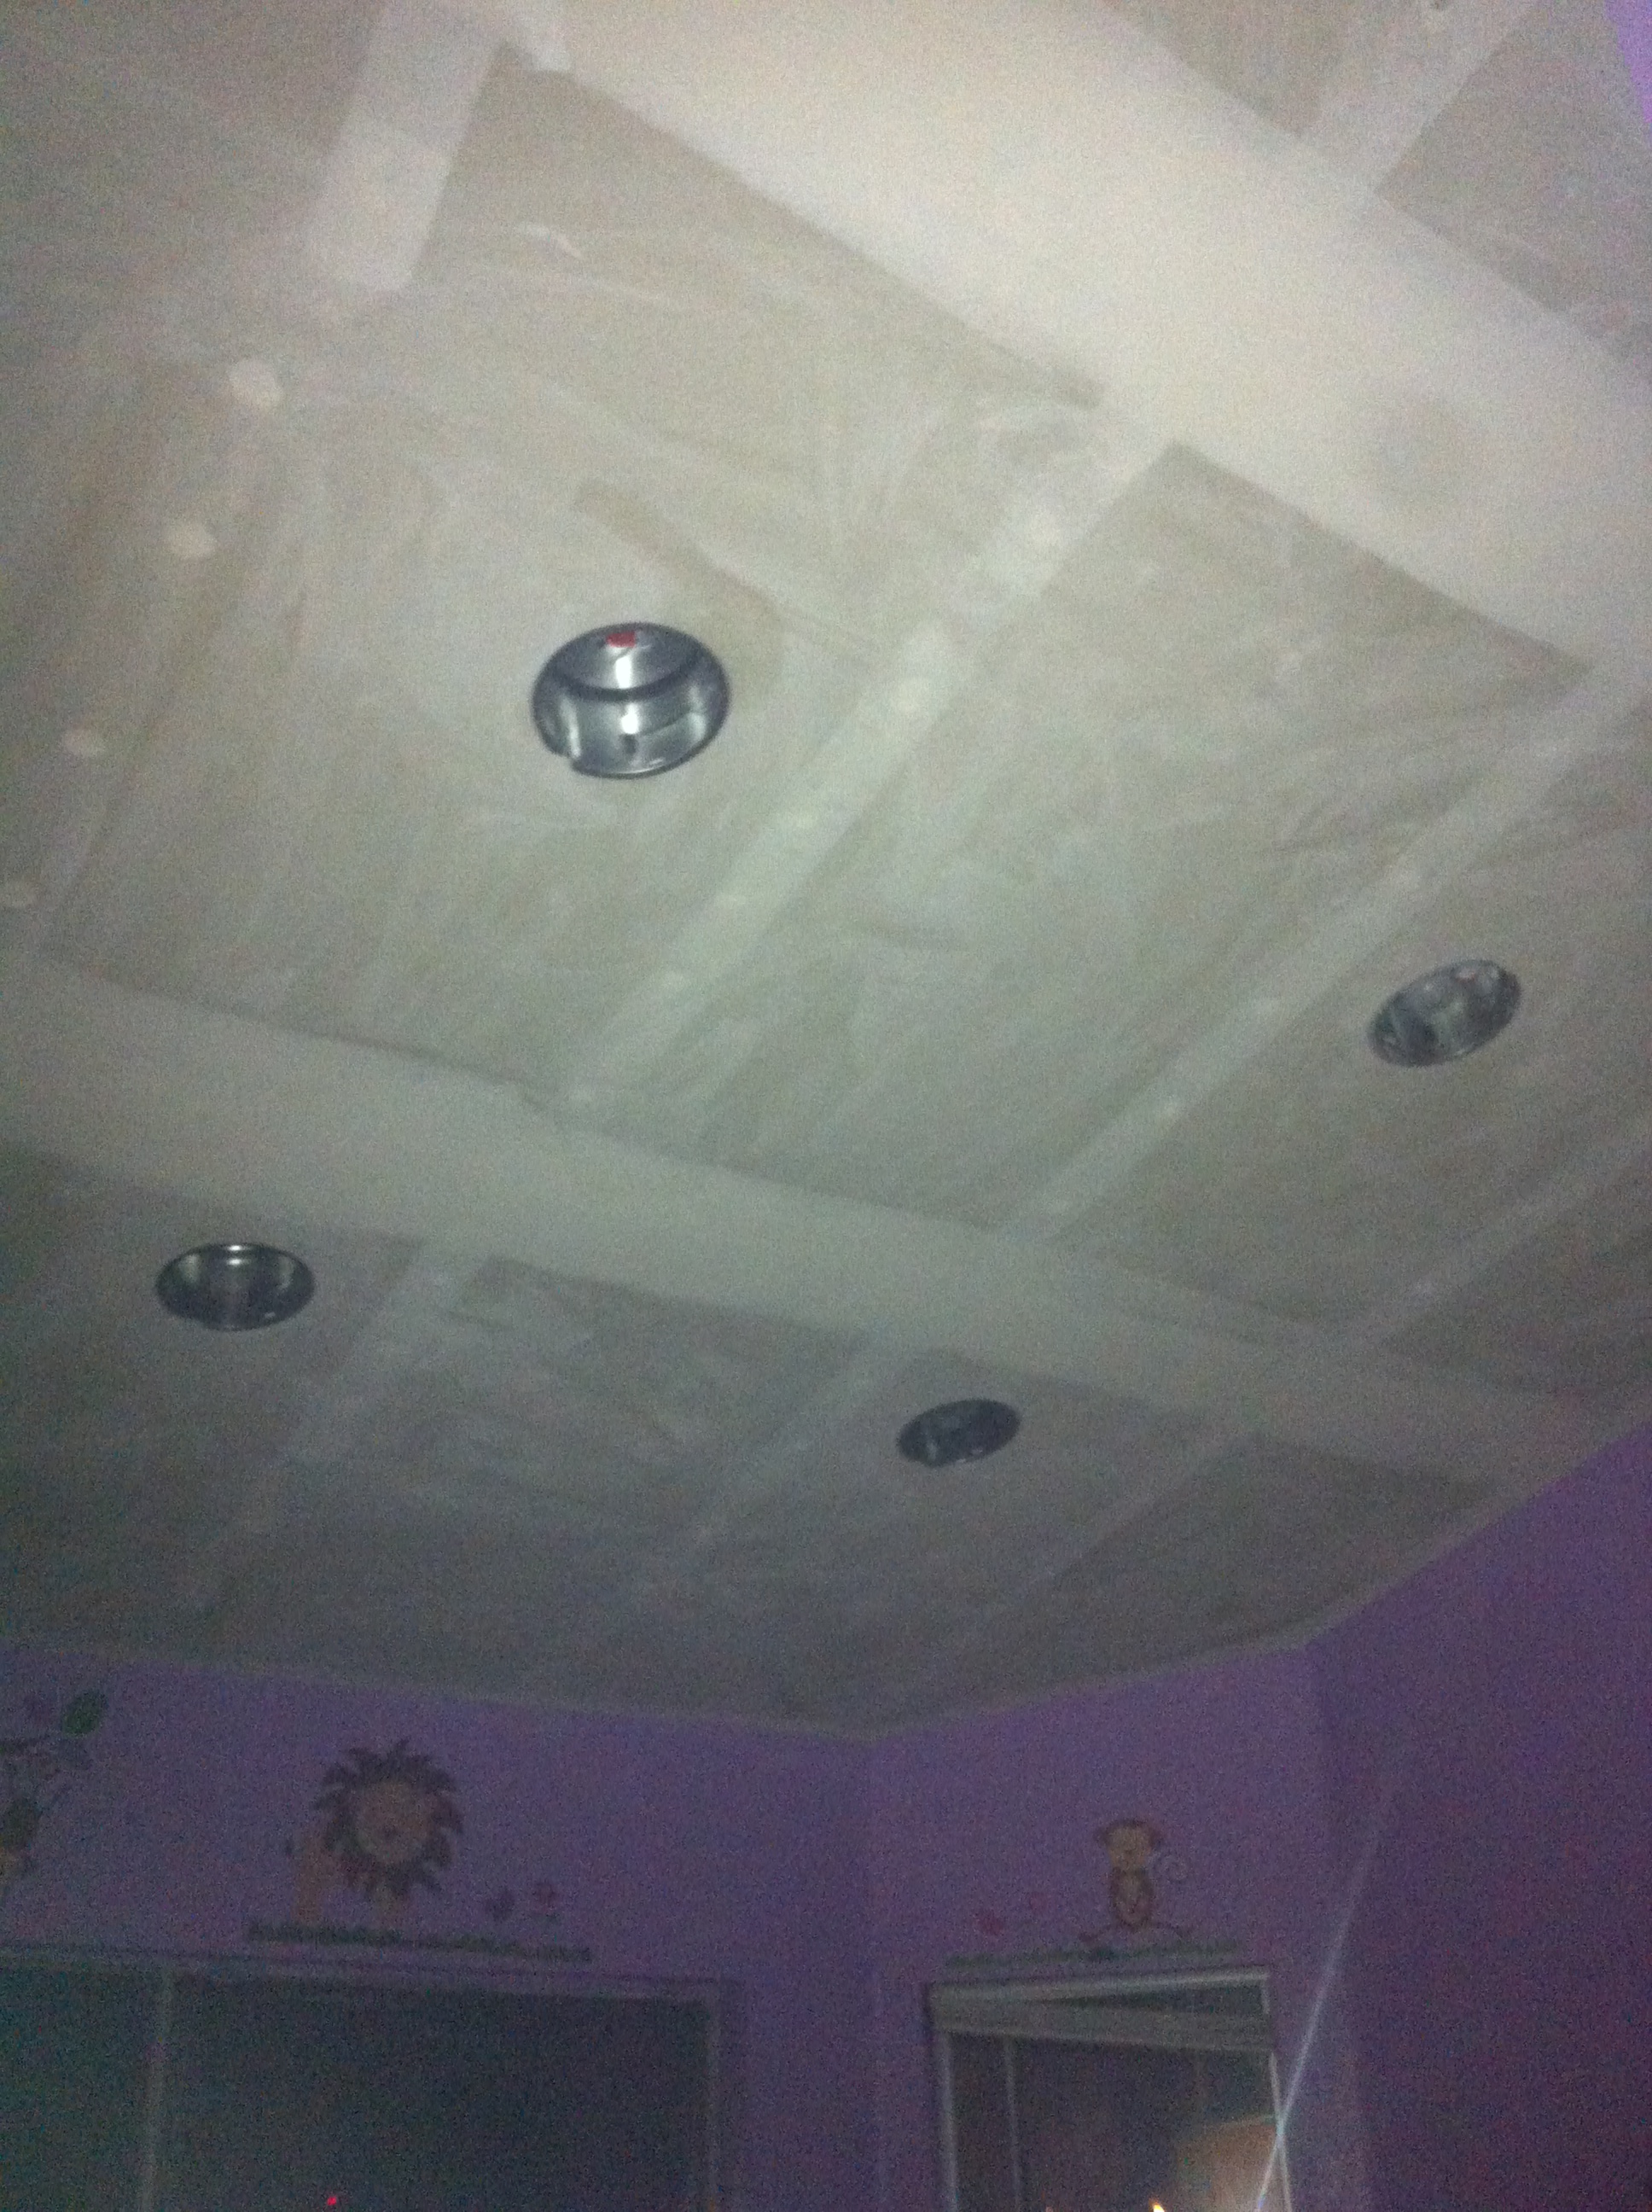
Ok! So this is one of my first and proudest projects, removing the popcorn ceiling from my daughter’s room. Now, initially I wasn’t going to tackle this project all on my own. I called a few contractors and basically they were charging “an arm and a leg”, and on one income that’s a no no. So I decided to take matters into my own hands and do the project myself. Below are a few easy steps I took to accomplish it. Enjoy!
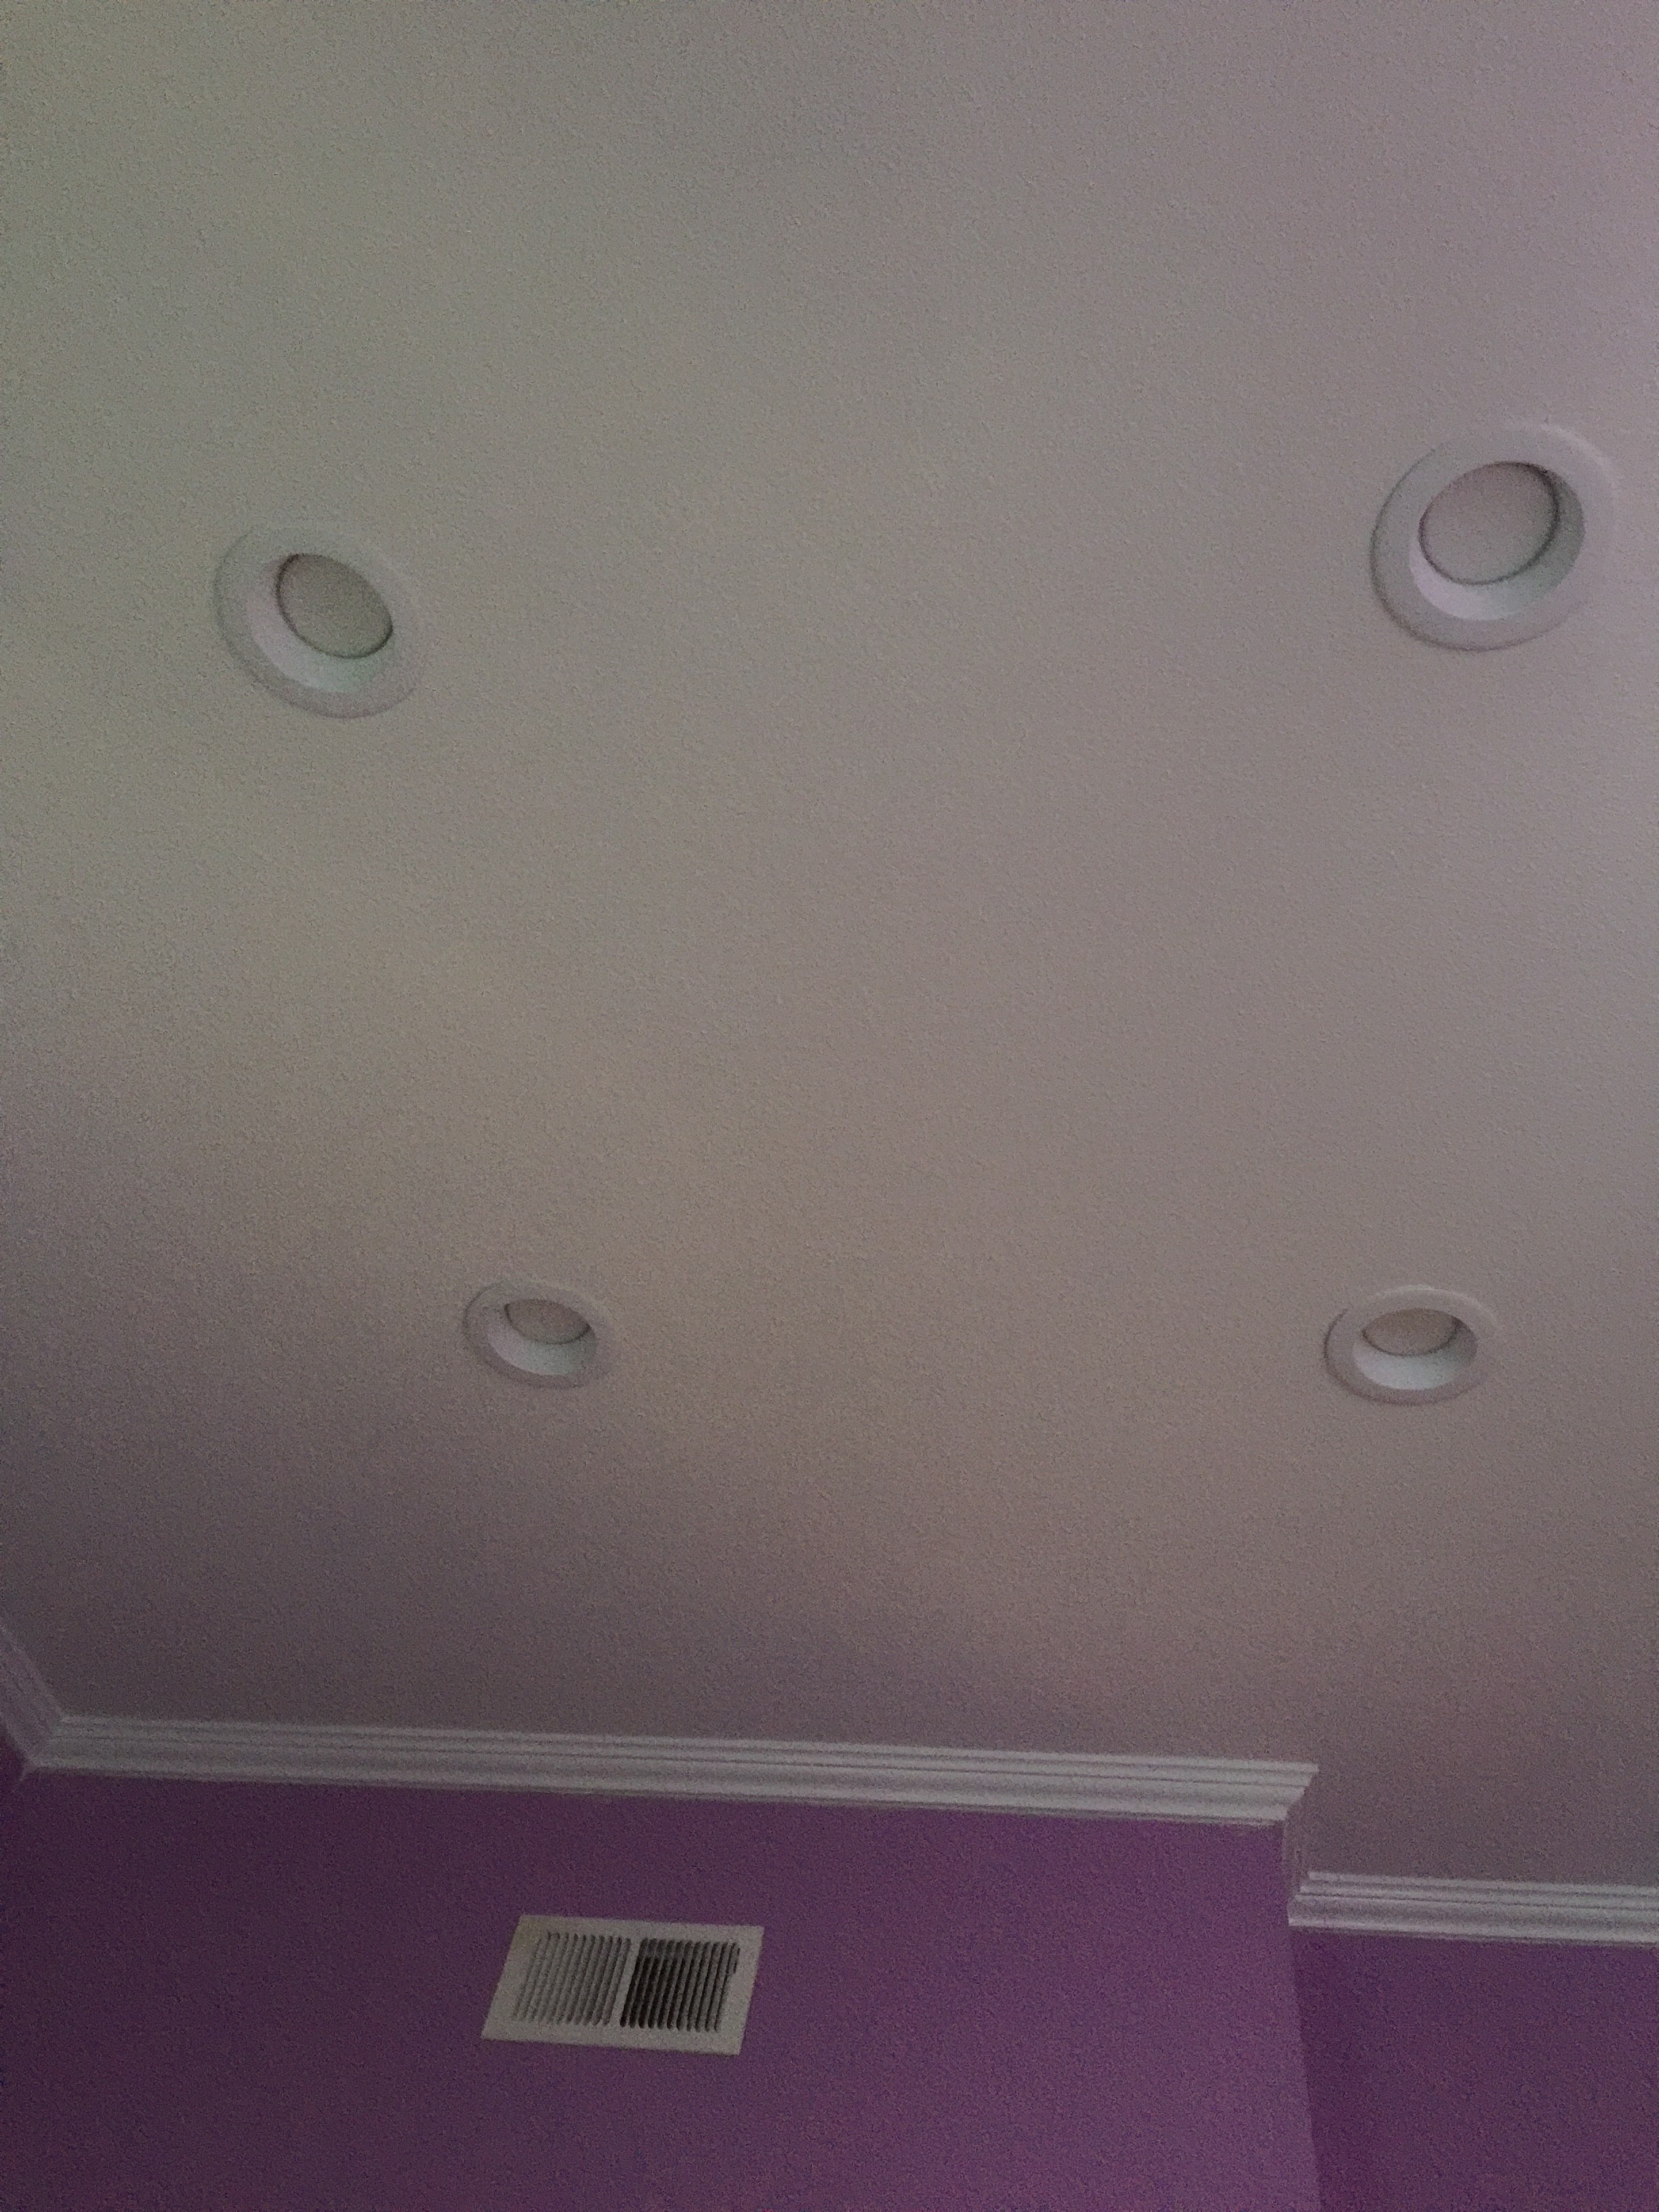
I patched up some minor scuffs I had made while removing the popcorn. Then I added some texture. I used about 2 cans of Homax Wall Texture in “orange peel”. And then I painted the ceiling with Behr Paint & Primer In One, in the color Ultra Pure White. About the crown molding that’s another project I’m not ready to tackle just yet. A family friend installed it for us at a discounted price. Score! I hope you all enjoy this post because I sure did! I was able to cut cost and the room looks great!