Popcorn Removal
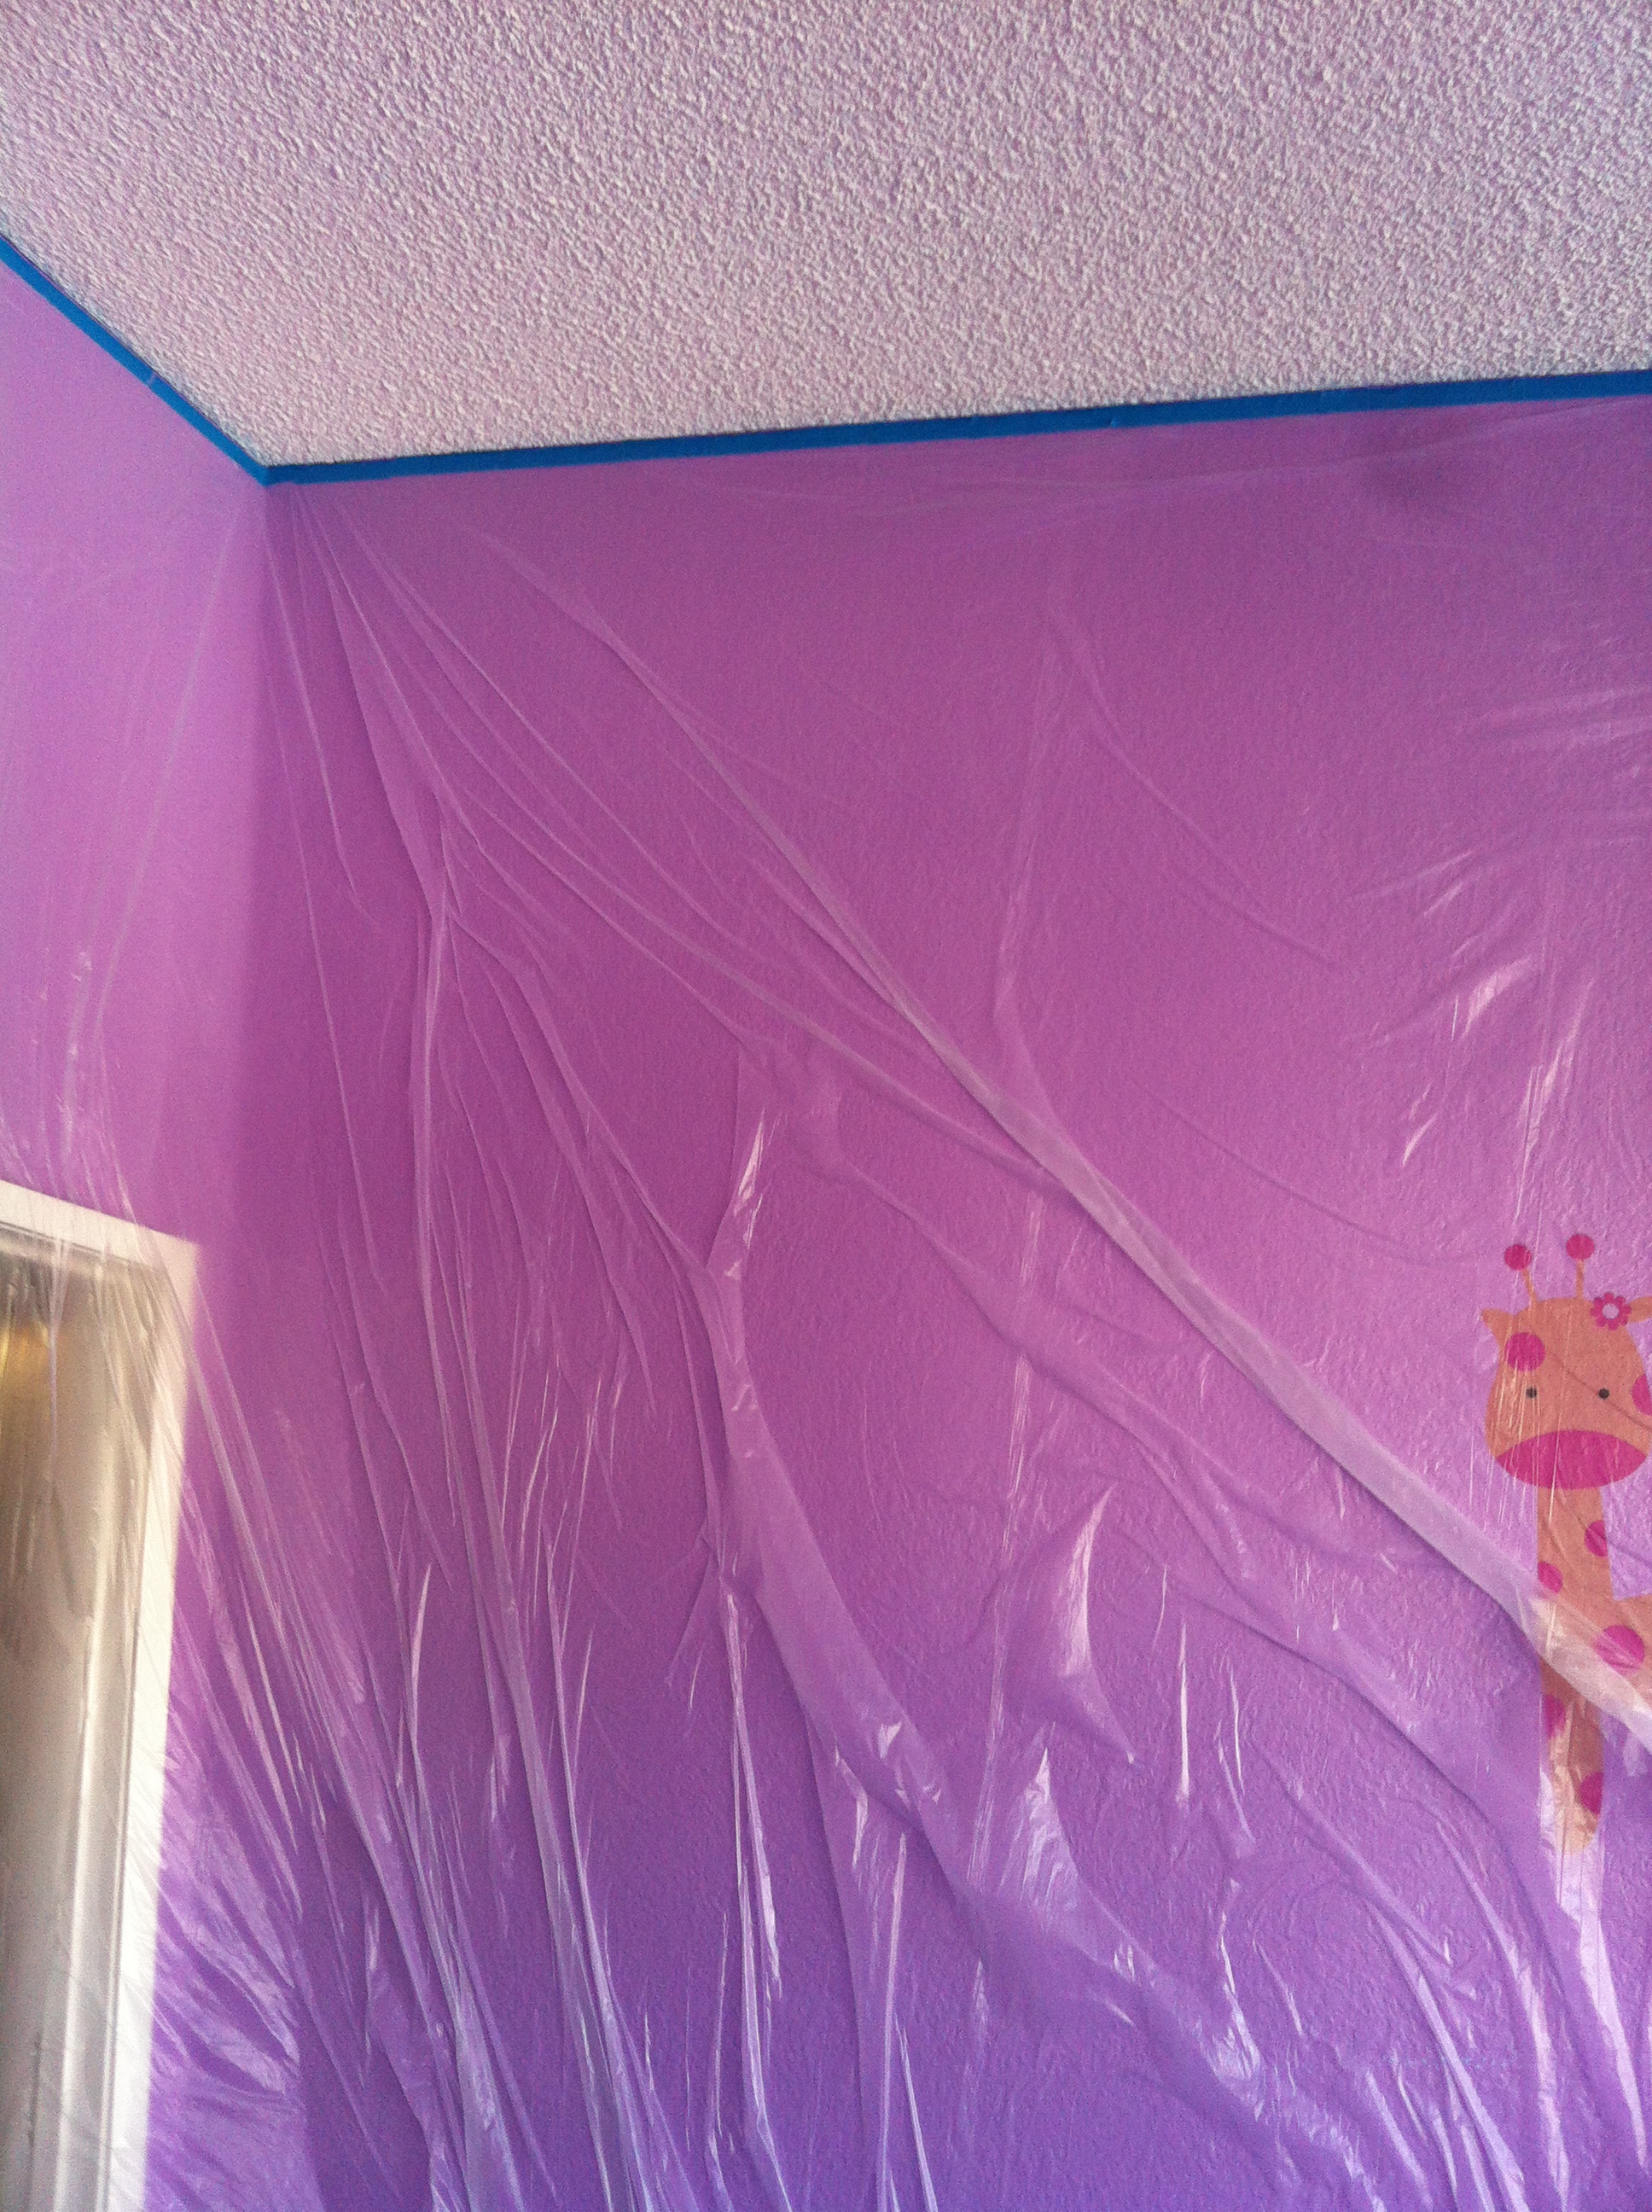
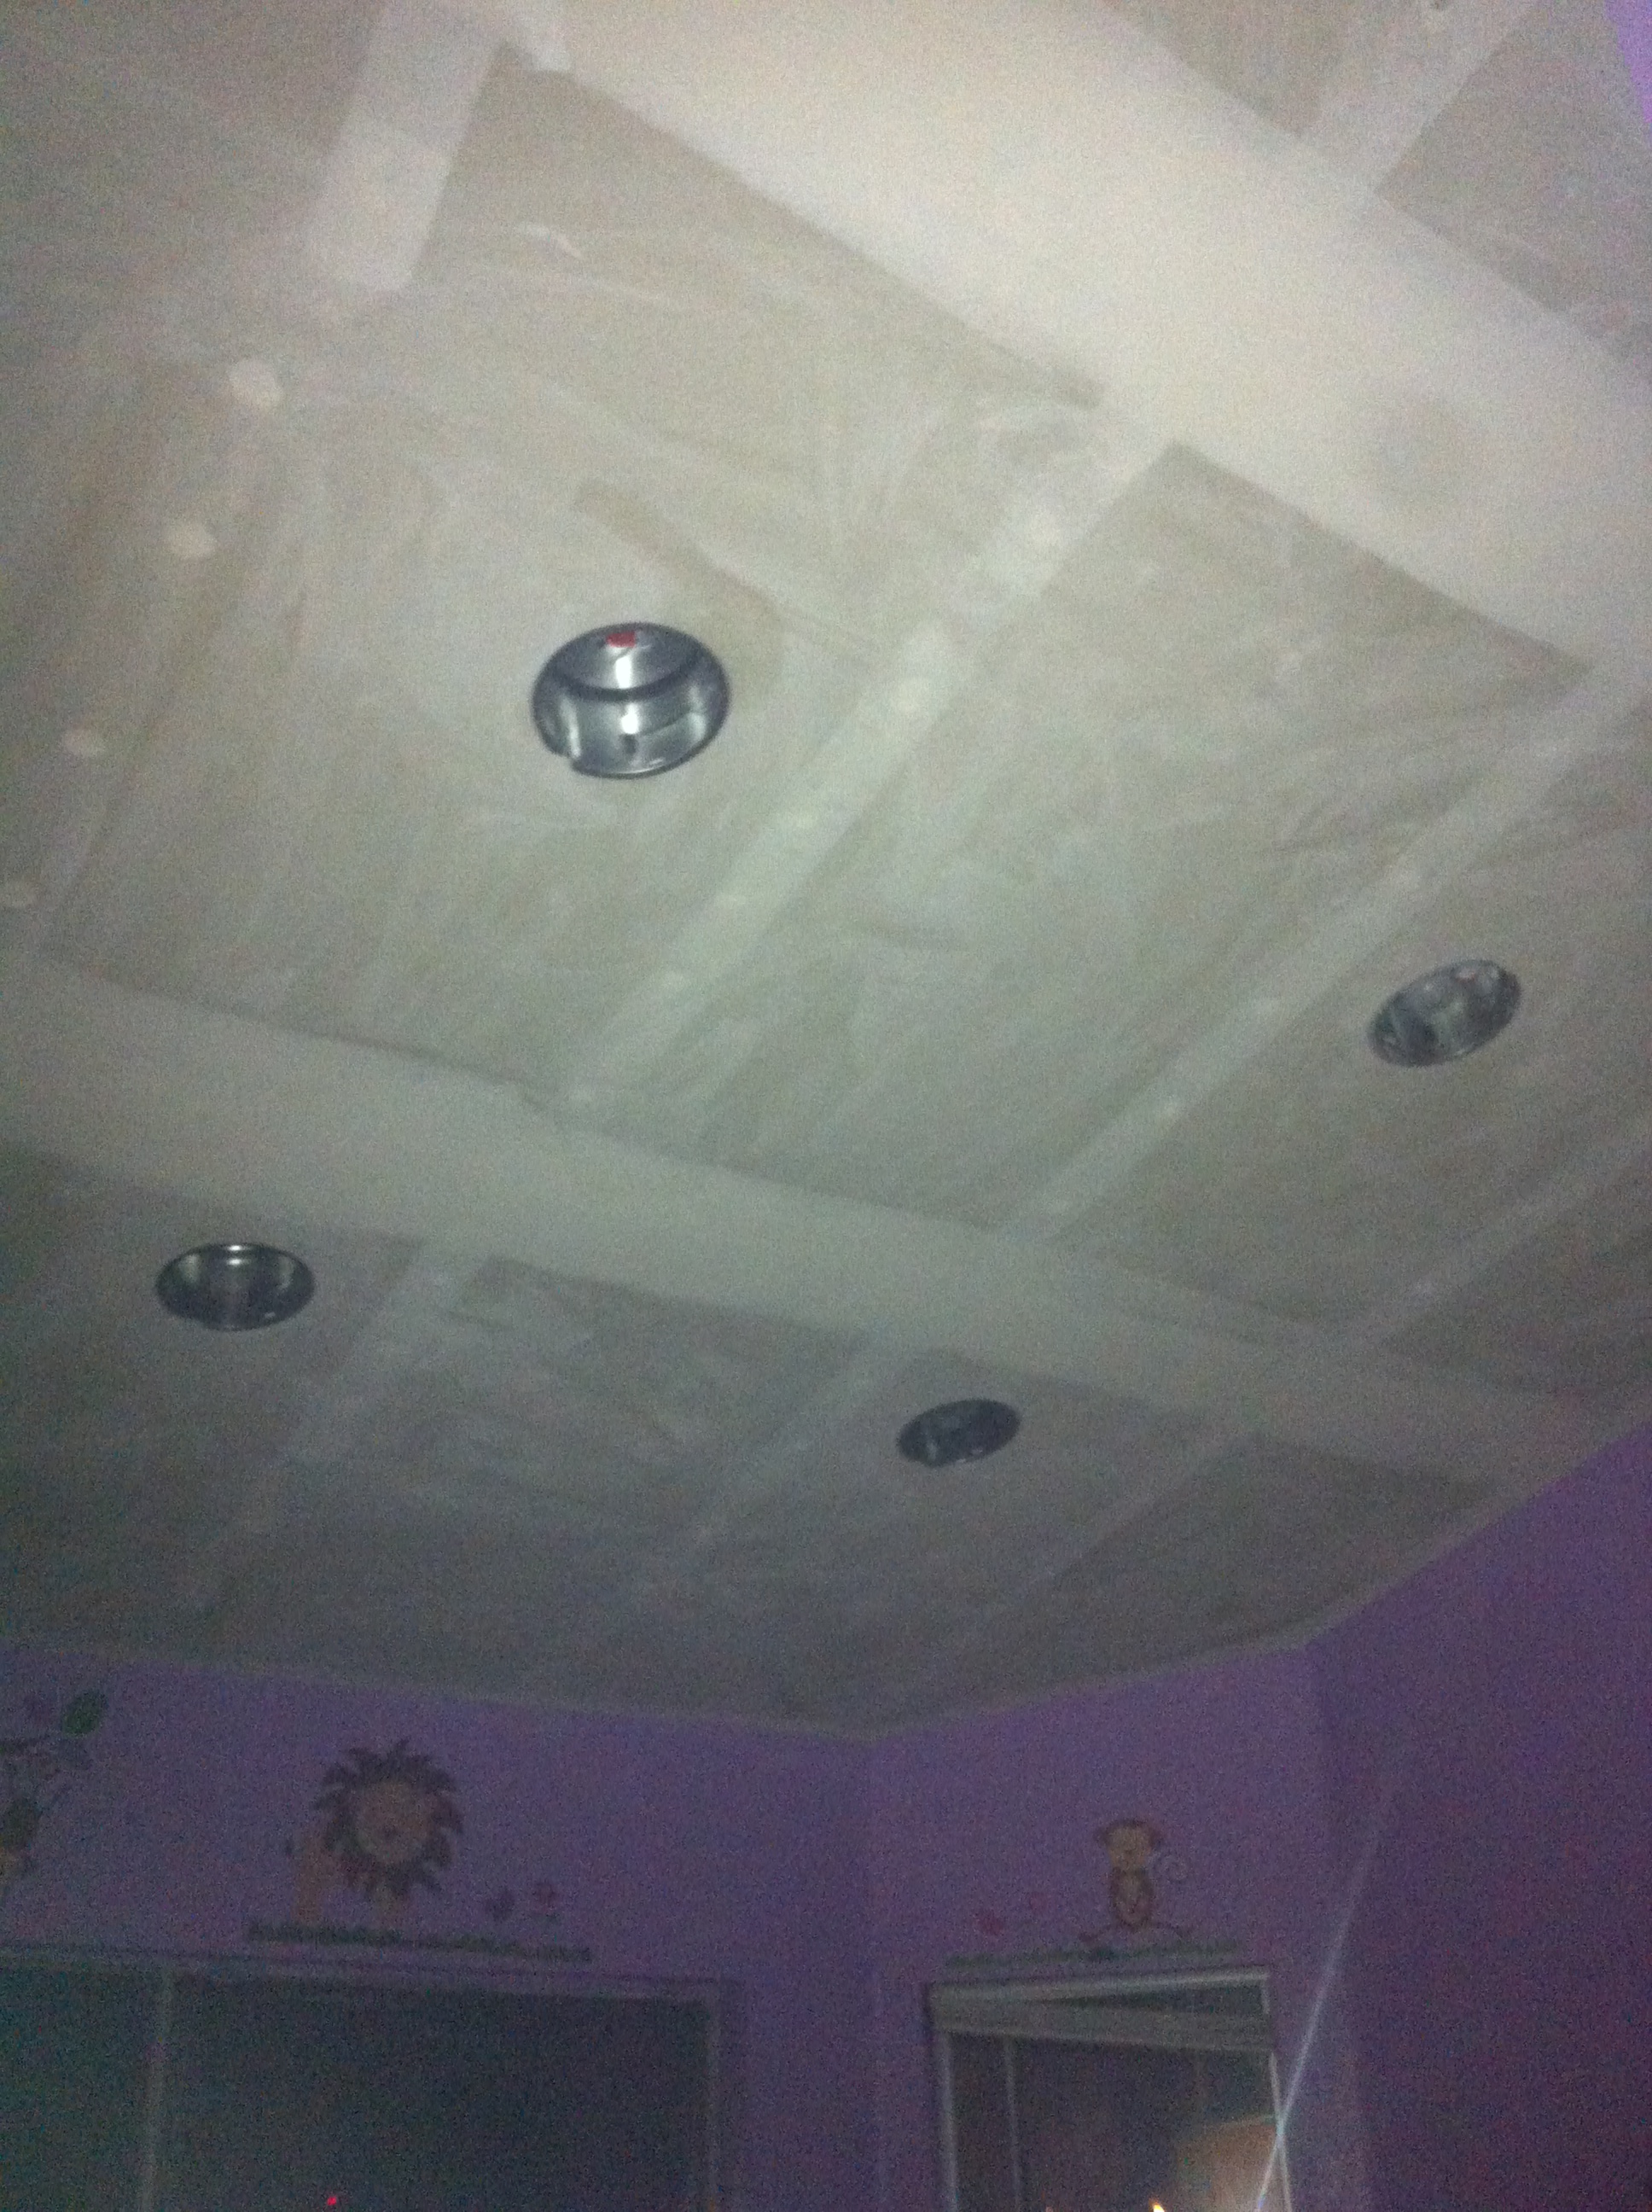
Ok! So this is one of my first and proudest projects, removing the popcorn ceiling from my daughter’s room. Now, initially I wasn’t going to tackle this project all on my own. I called a few contractors and basically they were charging “an arm and a leg”, and on one income that’s not good. So I decided to take matters into my own hands and do the project myself. Now, keep in mind when tackling a project like this it does get very messy. So its important to wear protective eye goggles, mask, and some old work clothes. You don’t want to breath this stuff in. Hopefully, with these few simple steps you are able to accomplish this project as well.
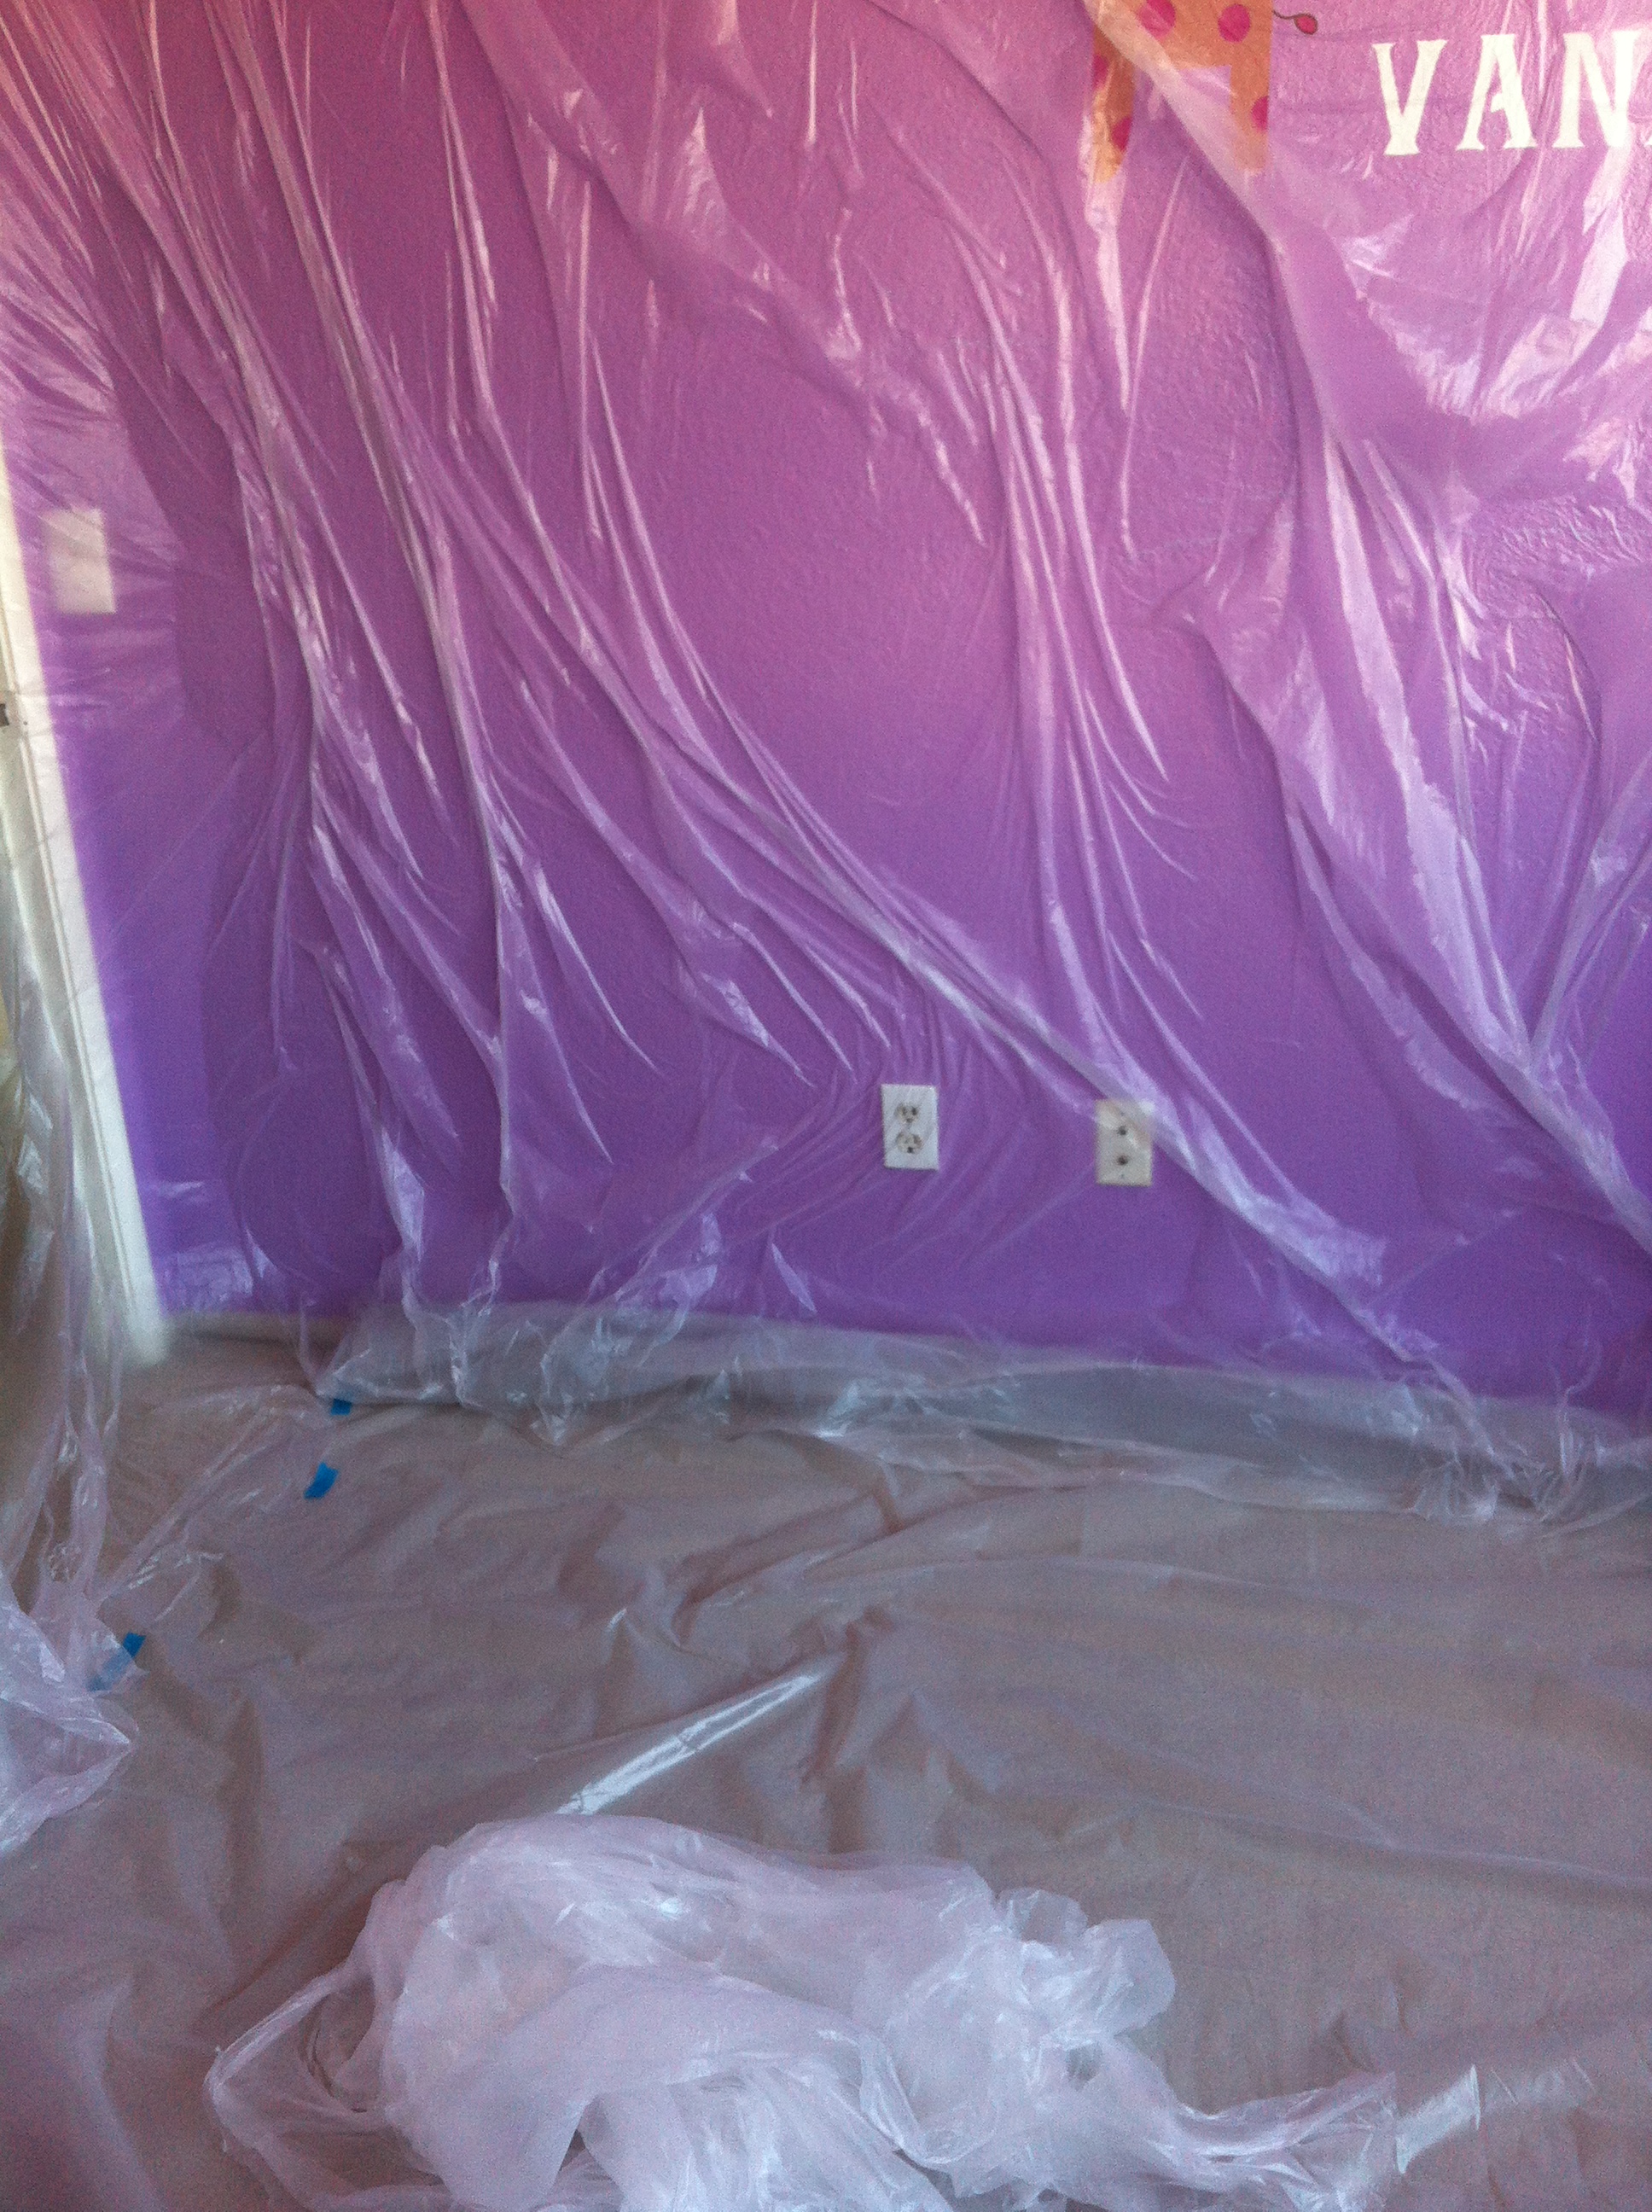
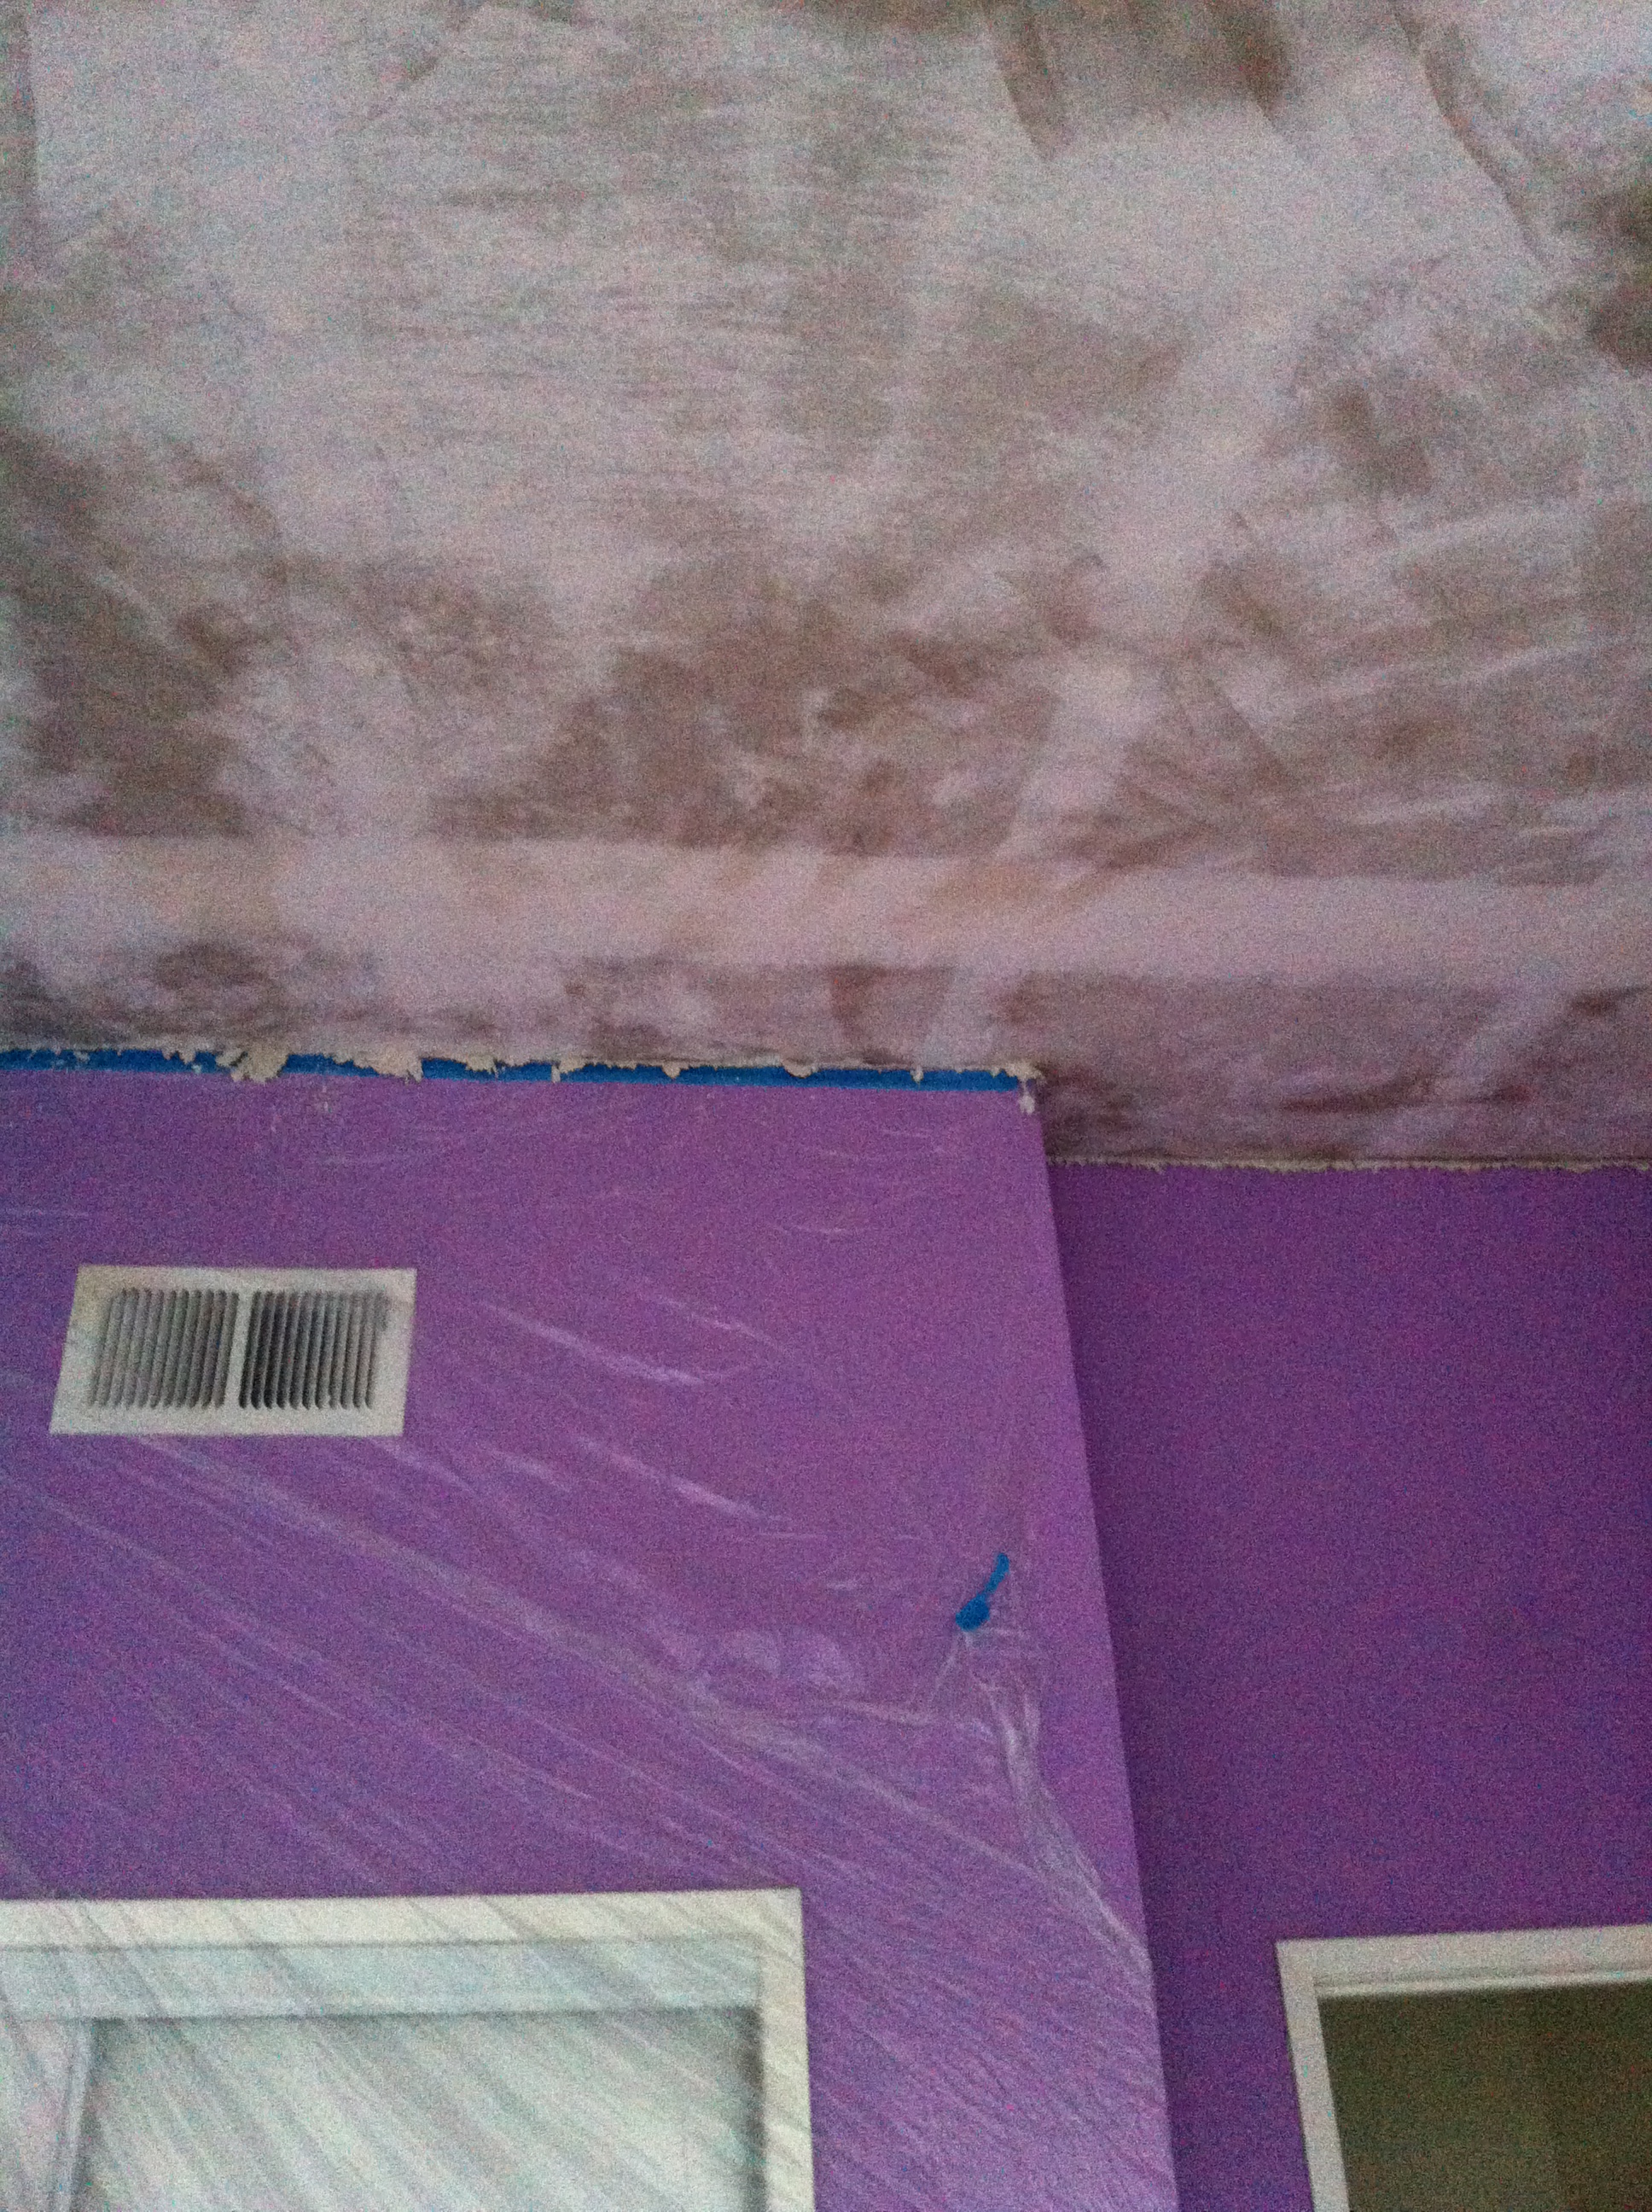
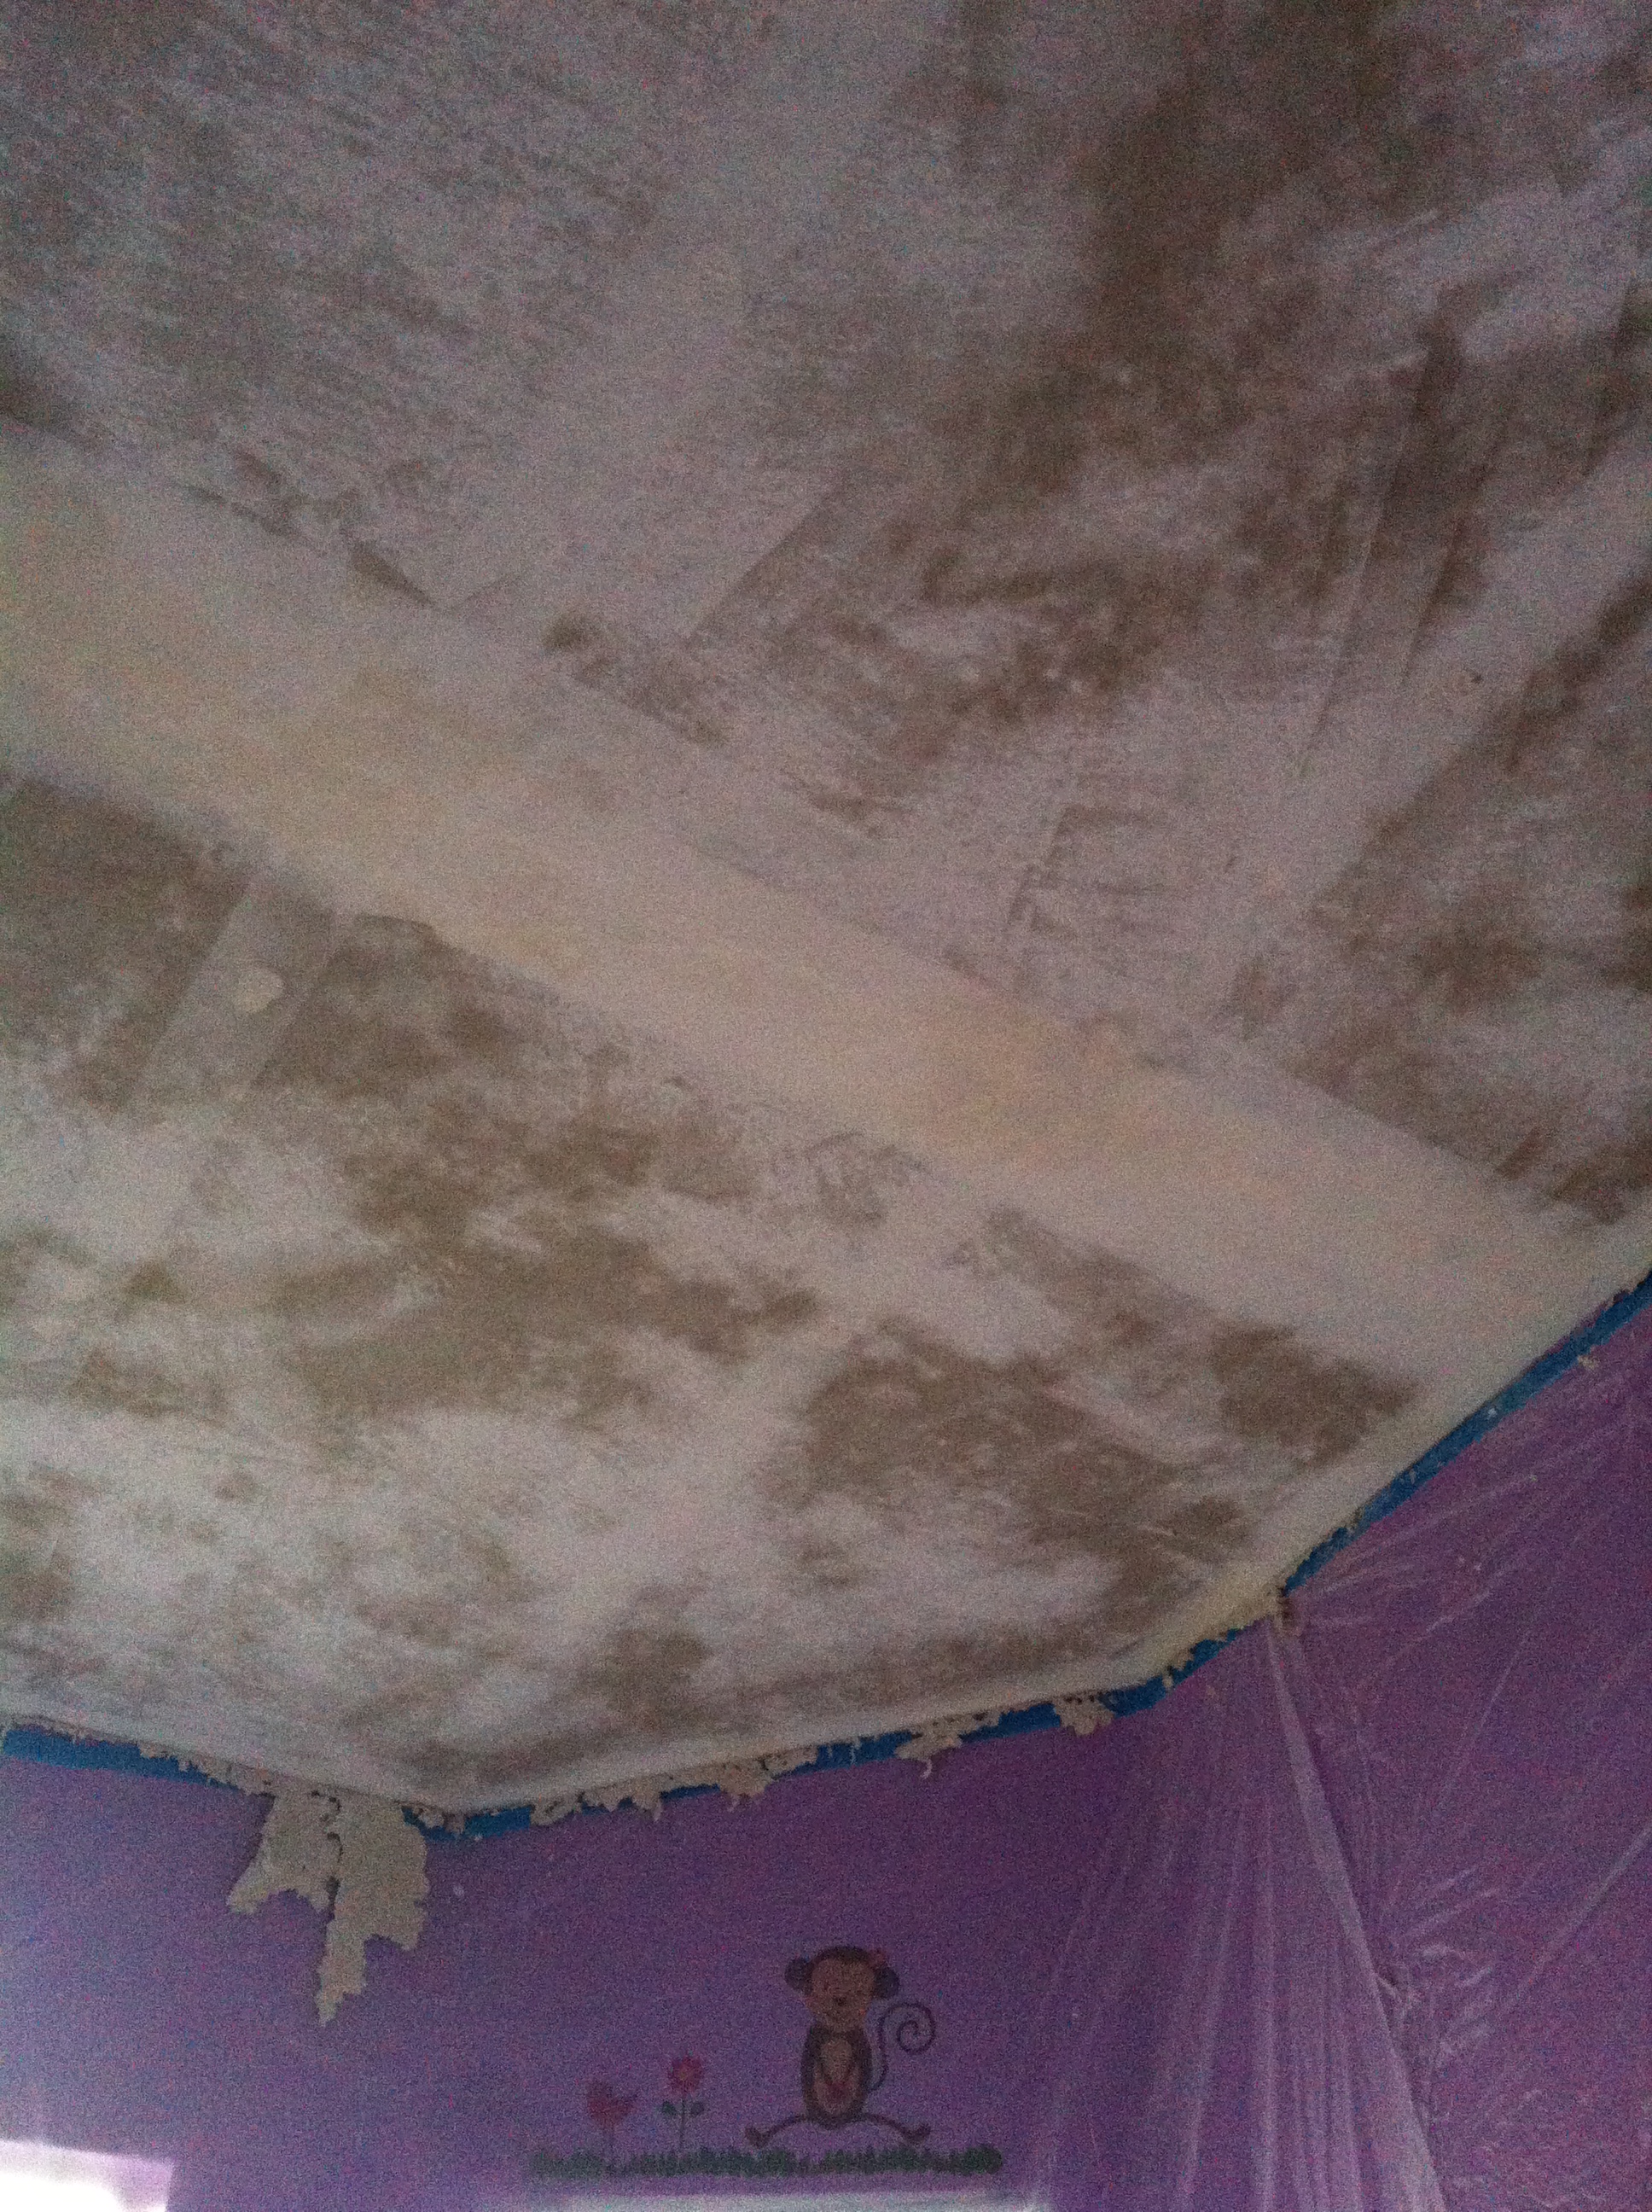
At this point the room is starting to come together. You can truly see the difference. Once all the edges are cleaned you can begin to remove all plastic from the walls and floor.
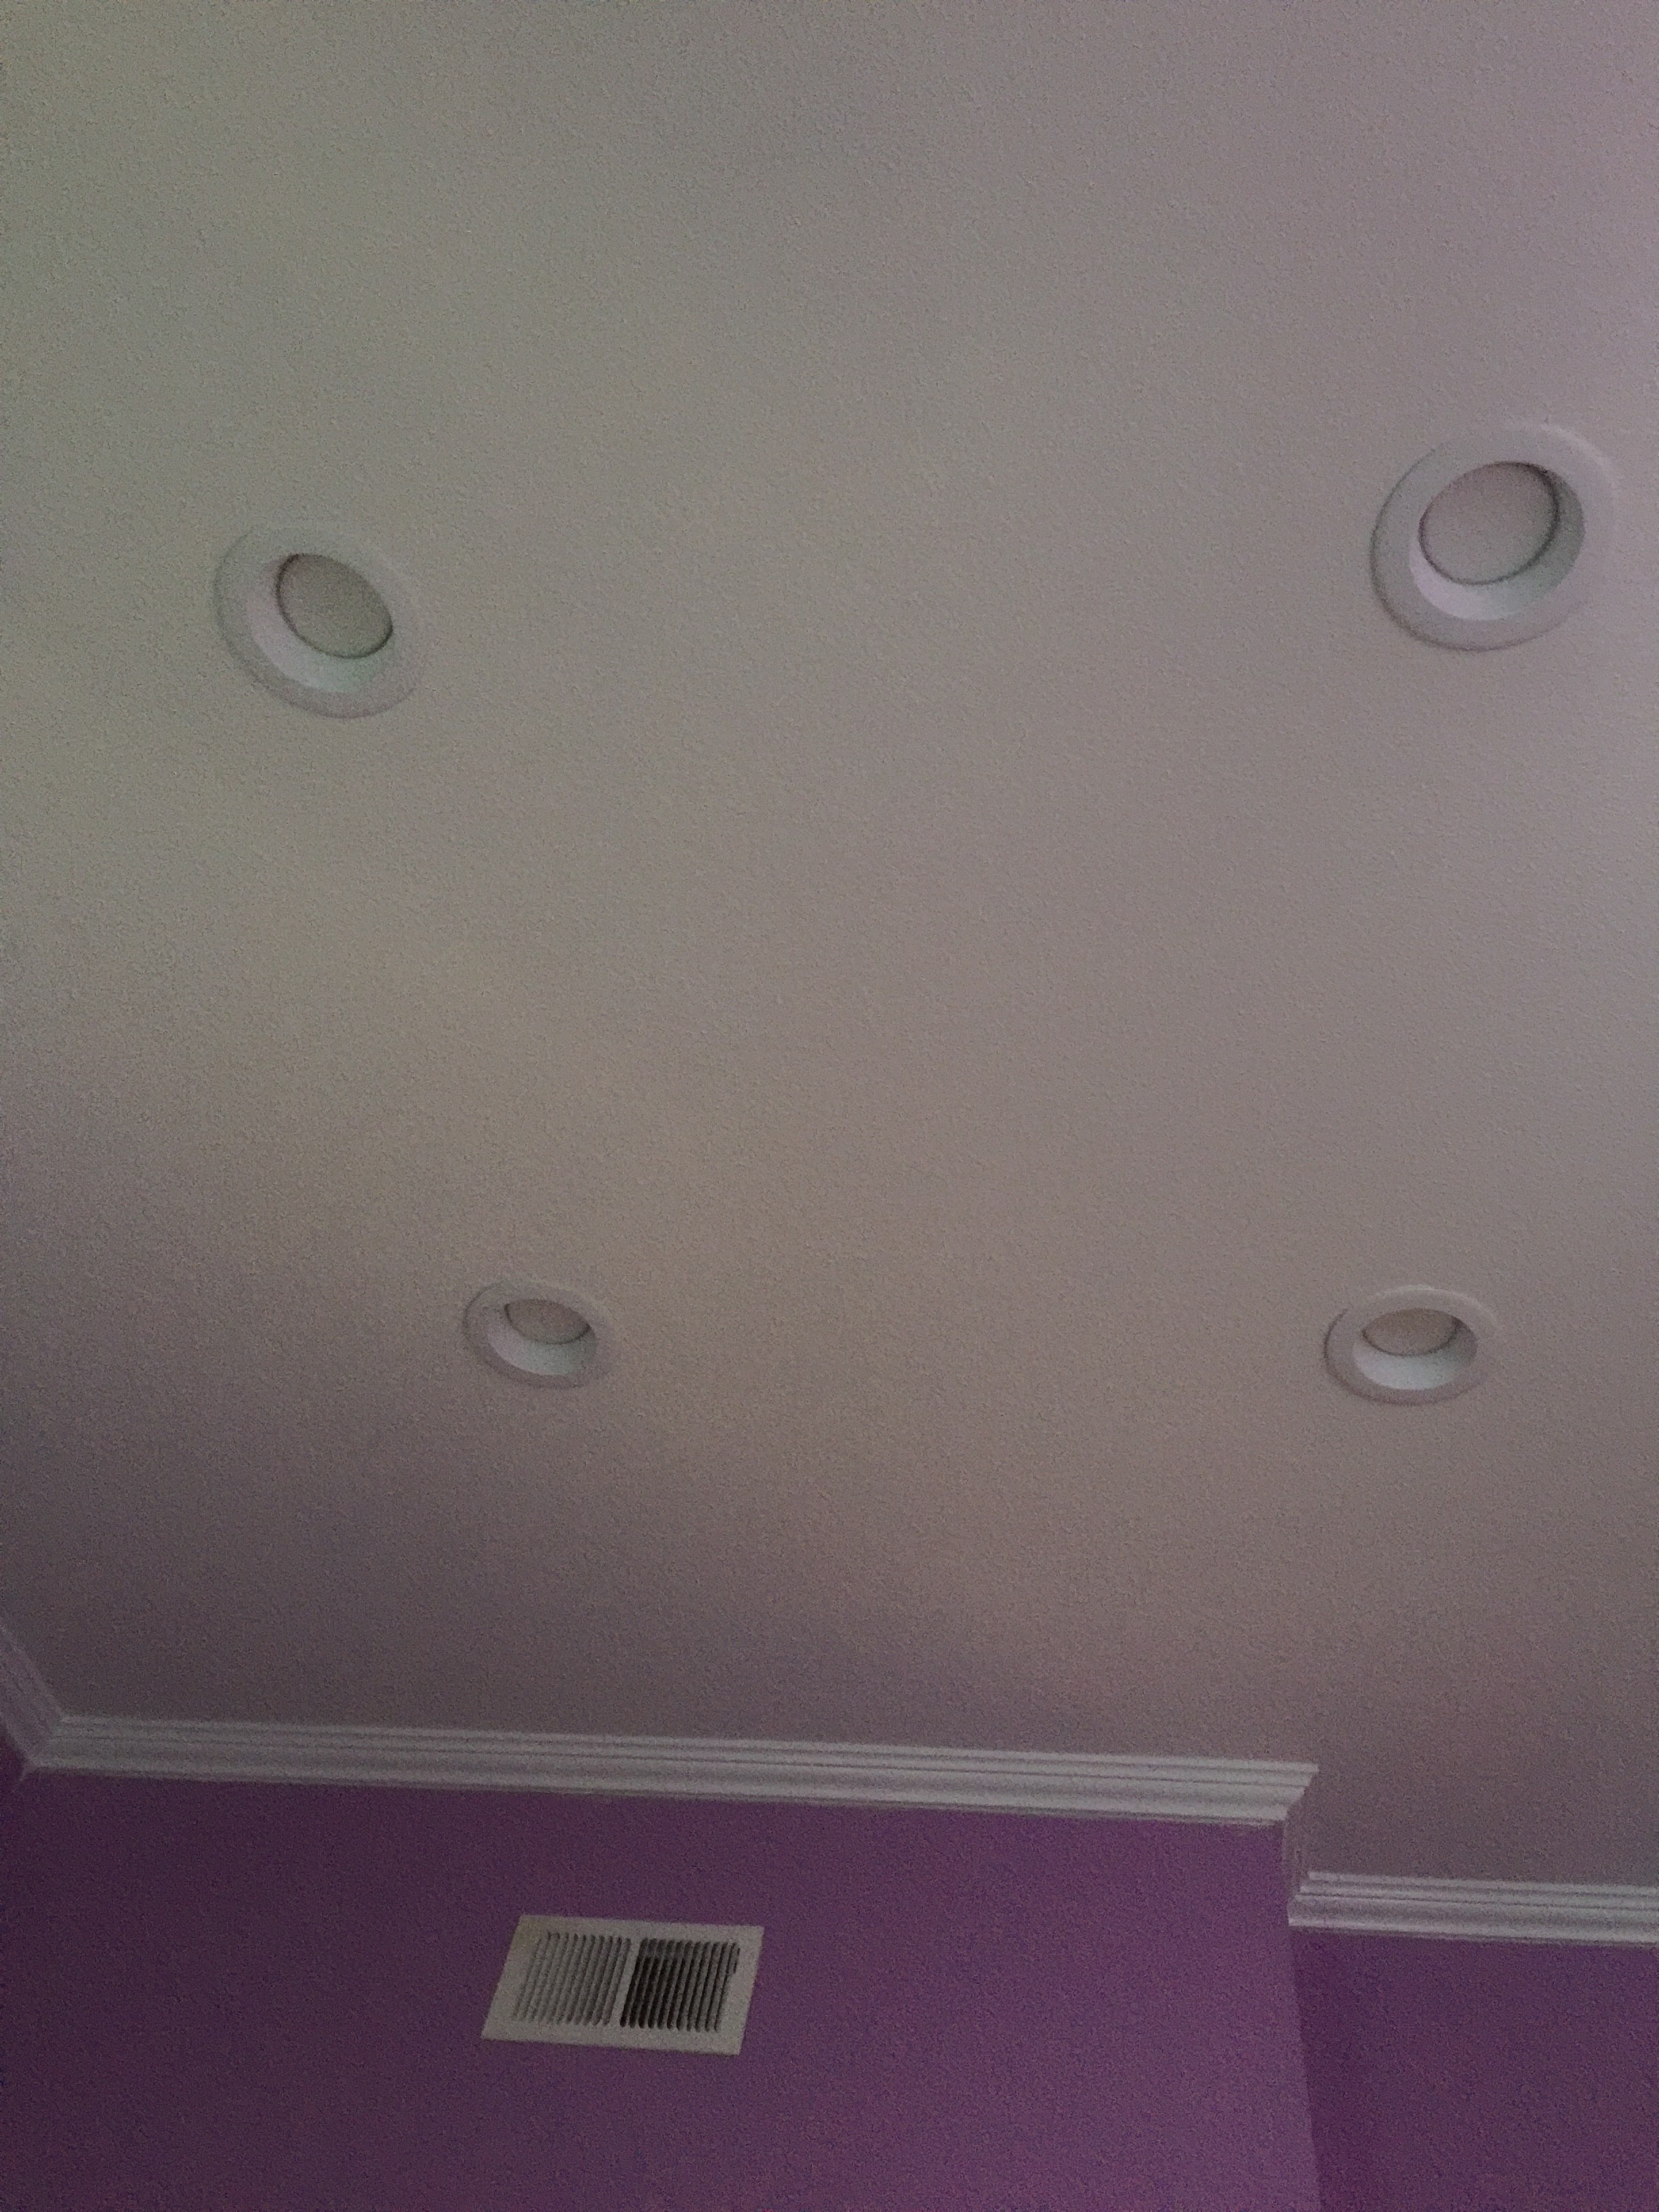
I patched up some minor scuffs I had made while removing the popcorn. This is normal. Especially, for a first timer like myself. Then I added some texture. I used about 2 cans of Homax Wall Texture in “orange peel”. And then I painted the ceiling with Behr Paint & Primer In One, in the color Ultra Pure White. About the crown molding that’s another project I’m not ready to tackle just yet. A family friend installed it for us at a discounted price. Score! I hope you all enjoy this post because I sure did! I was able to cut cost and the room looks great.
Here’s a break down of cost and material:
Eye Goggles $3.98
Face Mask $20.97
Plastic Cover 6pk $9.97
Homax wall texture (2) $18.97
Behr paint flat ultra pure white (5 gal) $116.
Scraper $6.97
Spackling Pre-Mix 32oz $7.48
So there you have it! A break down of all the material and cost I used for this project. Granted, I had most of the material with the exception of the wall texture and paint. I chose to buy the 5 gal of paint because I would use it for the other rooms. Its just cheaper this way! I hope these tips have been helpful and you are able to set forward on your next DIY. Until next time friends!
Carolina